
 Bookmark
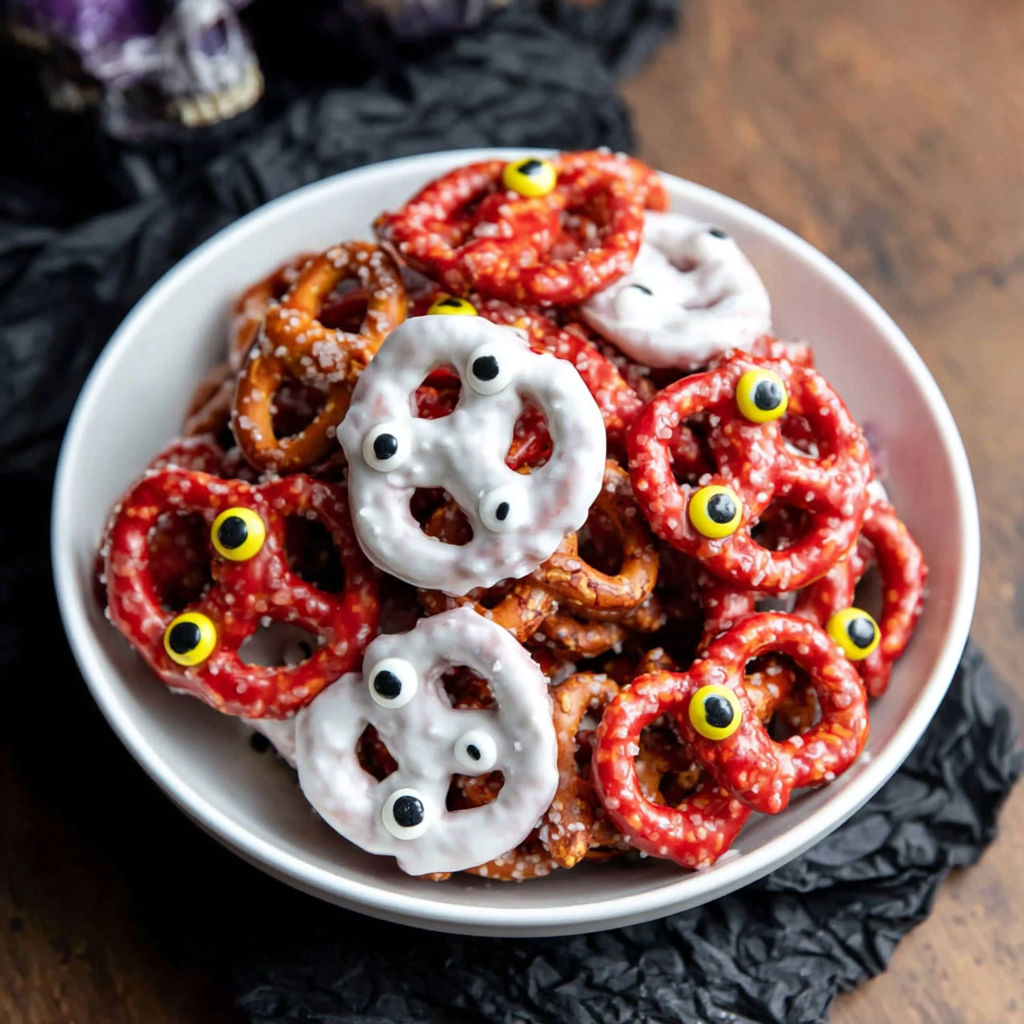
These Halloween pretzels have been my go-to quick treat whenever autumn rolls around. They are festive, fun, and come together with so little fuss, making party prep or last-minute snacks a breeze. What I love most is how these spooky bites manage to delight both kids and adults alike with their sweet and salty magic.
I first whipped these up for a school party when I was short on time, and they disappeared so fast that I had to double the batch. Now they’re a favorite seasonal staple that bring smiles every year.
Ingredients
- Pretzels: choose mini twists, rods, or snaps for a crunchy base that holds up well
- Candy melts: pick festive colors like white, orange, black, and green to keep things bright and playful quality melts help with smooth coating
- Candy eyeballs and Halloweenthemed sprinkles: these add a fun spooky vibe and texture
- Parchment or wax paper: essential for easy cleanup and to prevent sticking when the candy sets
Instructions
- Scoop and Prepare:
- Line a baking sheet with parchment paper to create a clean workspace and prevent sticking
- Melt the Candy Coating:
- Following the package instructions, microwave the candy melts in 30 second intervals, stirring between each session to avoid burning and ensure a smooth, even melt
- Coat the Pretzels:
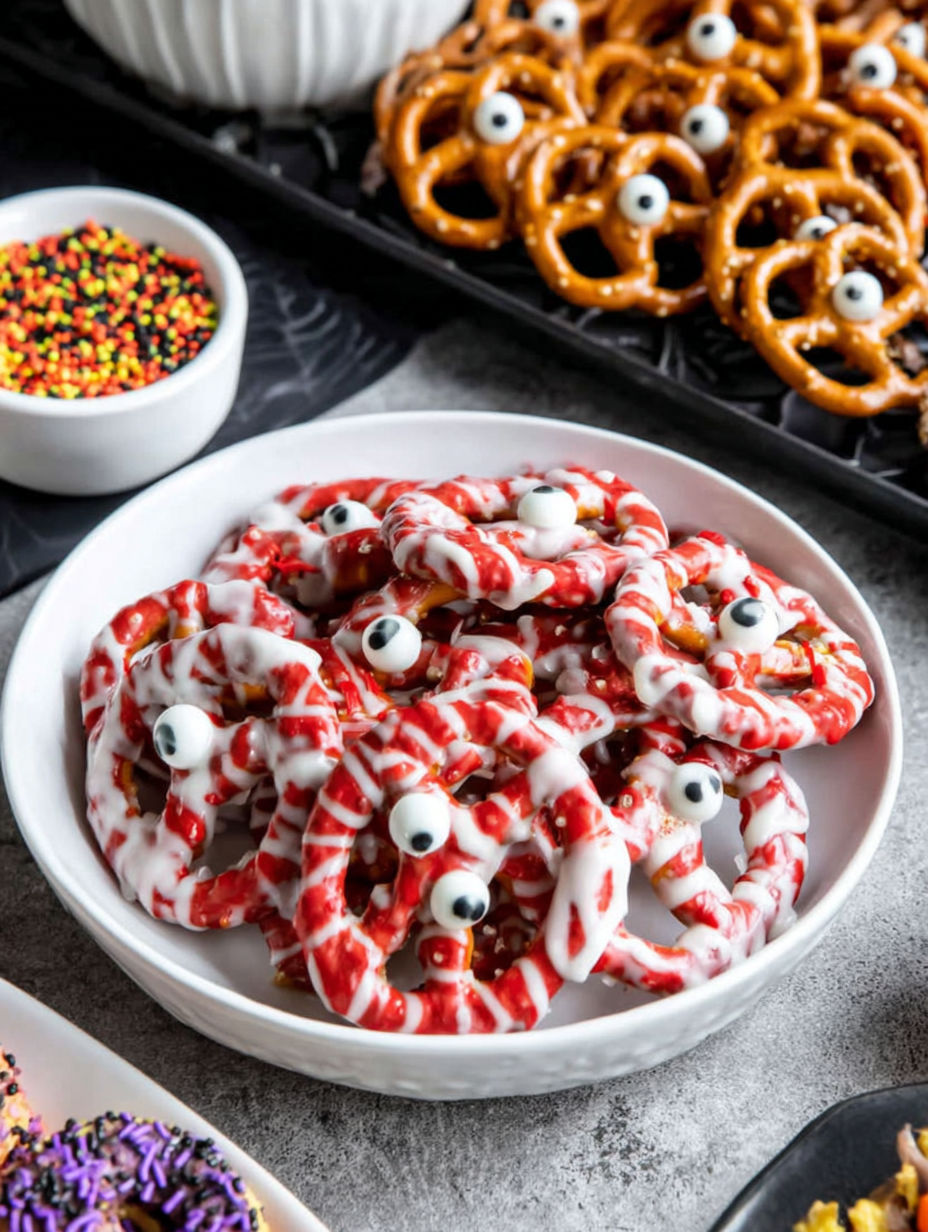
- Dip the pretzels halfway into the candy melts or use a spoon to drizzle the coating over them, making sure each pretzel is adequately covered while allowing part of the twist or rod to remain visible
- Decorate Quickly:
- Place the coated pretzels on the parchment-lined tray and immediately scatter candy eyeballs or festive sprinkles on top; the candy sets quickly, so timing is key to secure the decorations
- Set and Chill:
- Allow the pretzels to rest at room temperature for 10 to 15 minutes until the coating hardens. For faster results, you can place the tray in the refrigerator briefly but watch carefully to prevent condensation
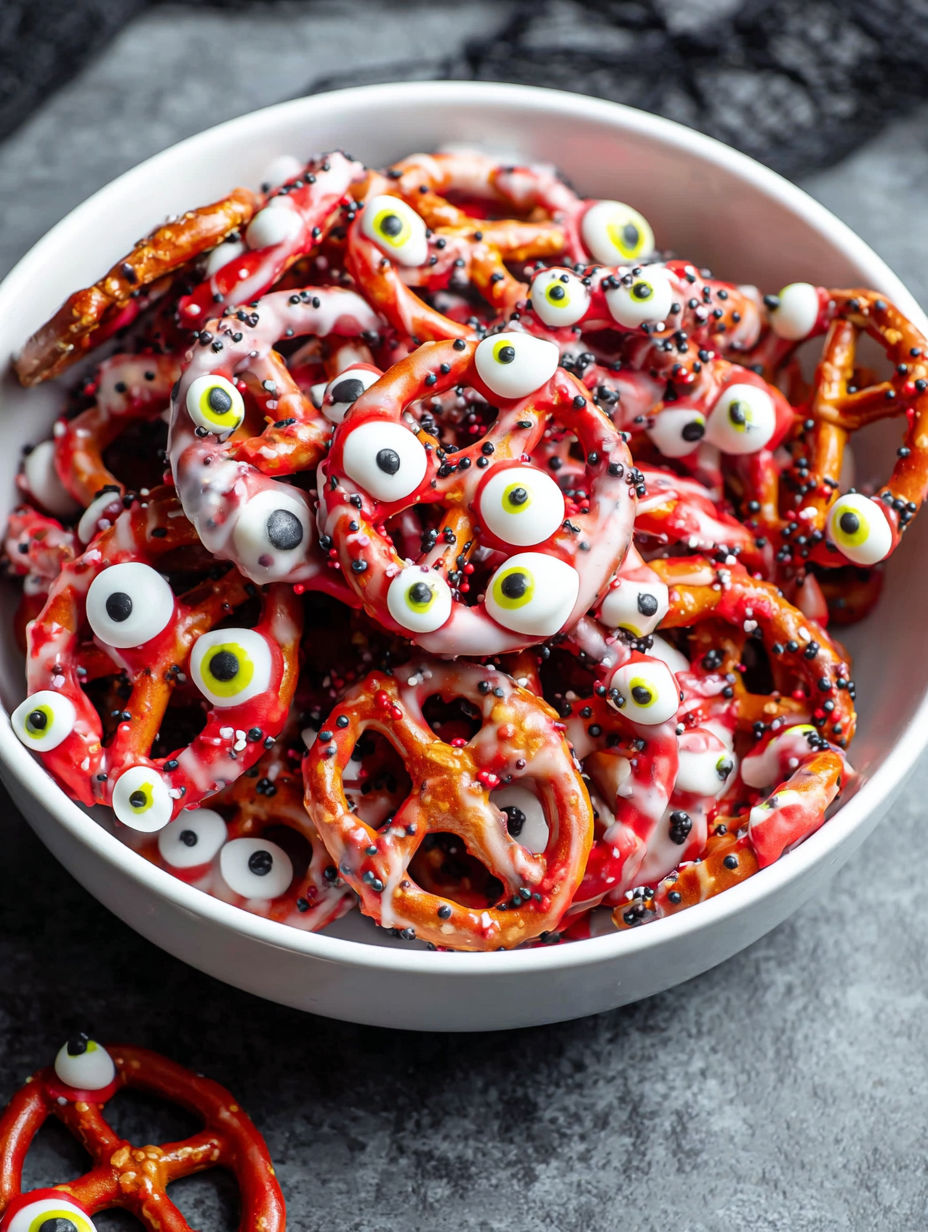
My favorite part of this recipe is the candy eyeballs that bring each pretzel to life. These treats always remind me of huddled family nights carving pumpkins while the kitchen smells of melted chocolate and childhood laughter fills the air.
Storage Tips
Keep the pretzels in an airtight container in a cool, dry place to preserve their crunchiness. Avoid refrigeration for long periods because humidity can soften the coating. For best taste, consume within a week.
Ingredient Substitutions
If candy melts are hard to find, white chocolate chips can work, but melt them gently to avoid seizing. Use colored sugar or edible food markers for decoration if sprinkles or candy eyeballs aren’t available.
Serving Suggestions
Create a spookythemed snack platter by mixing these pretzels with popcorn, candy corn, and nuts for variety. Package a handful in small cellophane bags tied with orange and black ribbons for charming Halloween party favors.
These Halloween pretzels are a quick, festive treat that come together in minutes and delight guests of all ages. Make a double batch if you want to be the hero of the party.
Your Recipe Questions Answered
- → What types of pretzels work best for these snacks?
Mini pretzels like twists, rods, or snaps all work well, providing a great base for candy coatings and decorations.
- → How do I melt the candy coating without burning it?
Microwave the candy melts in 30-second intervals, stirring between each to ensure smooth, even melting without burning.
- → Can I prepare these snacks ahead of time?
Yes, once set, store them in an airtight container at room temperature for up to 7 days to keep them fresh and crunchy.
- → What are some fun decoration ideas for these pretzel snacks?
Use candy eyeballs, Halloween sprinkles in orange, black, and purple, or try variations like mummy pretzels with chocolate eyes or witch broom rods drizzled with colored melts.
- → How can I speed up the setting process?
Place the decorated pretzels in the refrigerator or freezer for 10–15 minutes to help the candy melts firm up quickly.
- → Can leftover melted candy be reused?
Yes, reheat any leftover melted candy gently before use to avoid waste and maintain smooth texture.