
 Bookmark
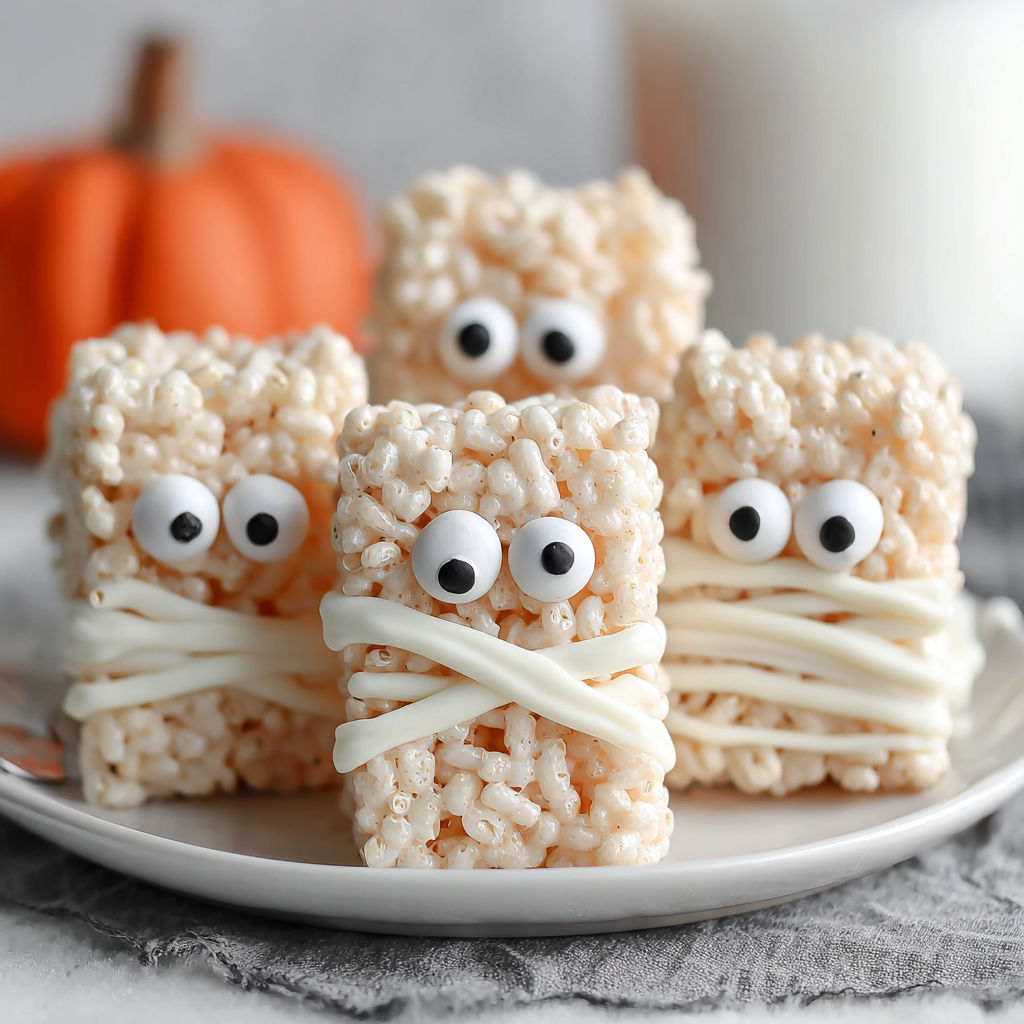
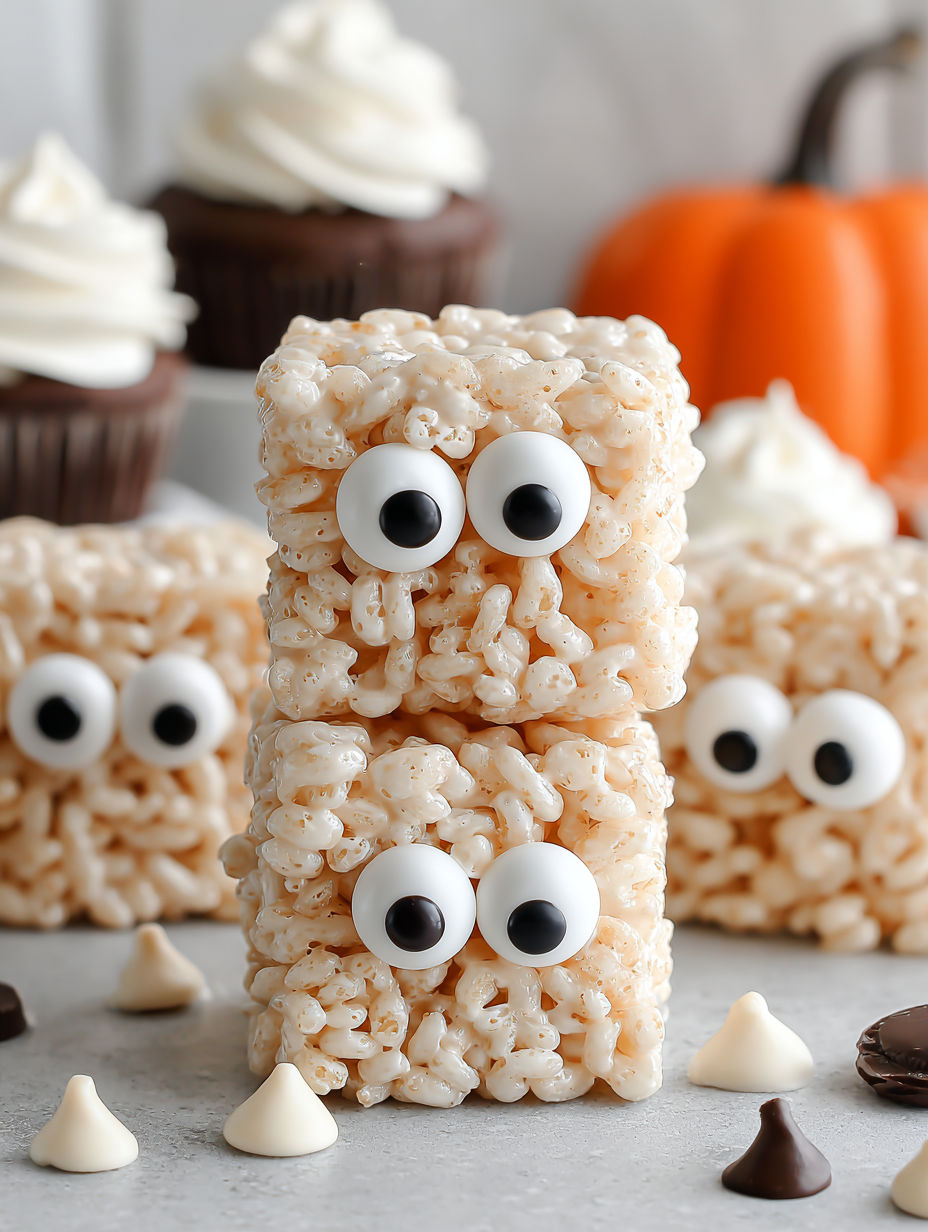
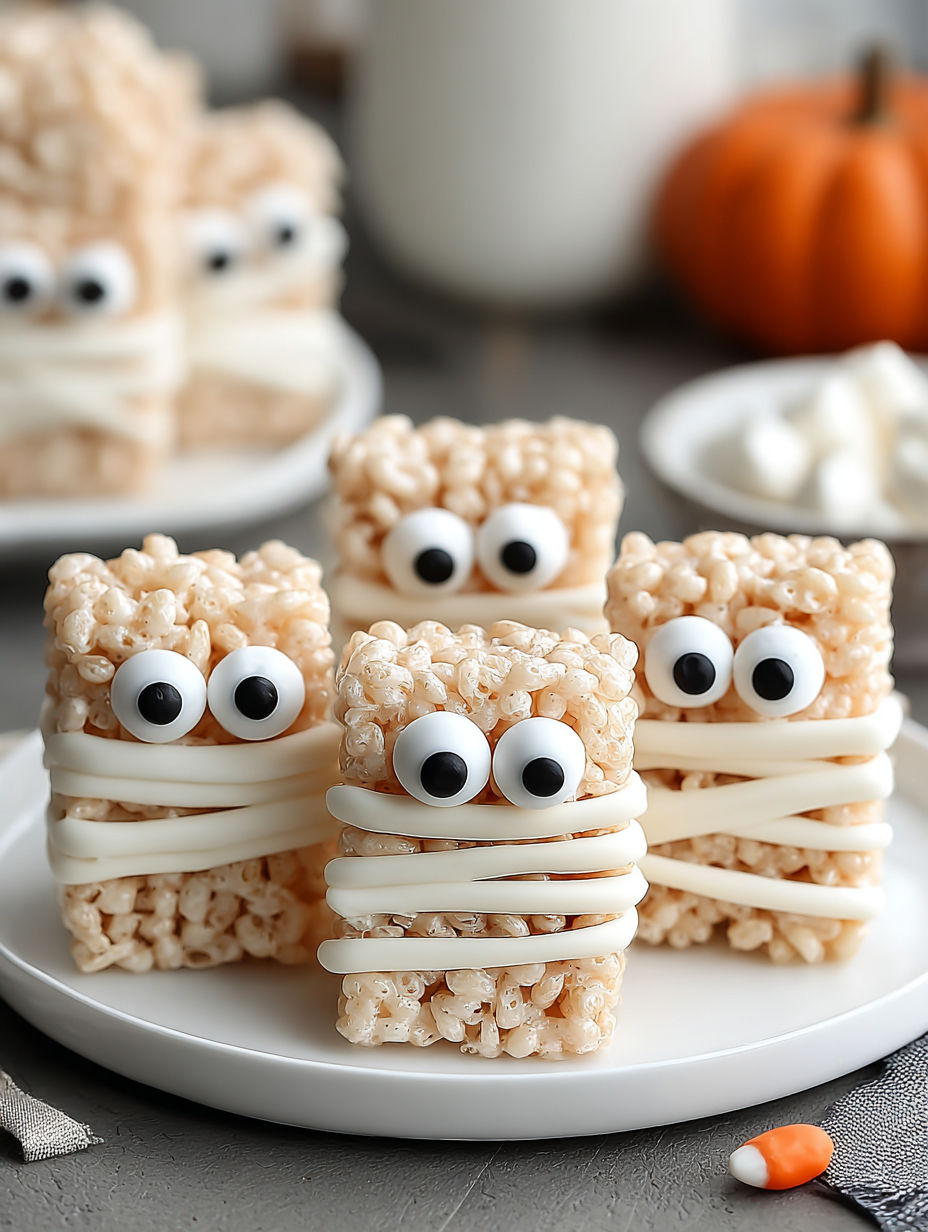
These Rice Krispie Mummies turn simple ingredients into a festive treat perfect for Halloween parties or cozy family moments. They come together quickly without baking, making them ideal for a last minute idea that still feels special and fun. Using marshmallows, Rice Krispies, butter, and white chocolate, these mummies get dressed up with candy eyeballs for a playful spooky vibe. Making them became an instant favorite in my house, especially when my kids get excited to add the little eyes and create their own spooky designs.
I remember making these with my niece and nephew who loved squeezing the melted chocolate to mimic mummy bandages. It really makes the activity as joyful as the eating.
Ingredients
- Unsalted butter: 3 tablespoons unsalted butter which gives a creamy richness and helps everything stick together well
- Mini marshmallows: One 10 ounce bag of mini marshmallows for that classic gooey, chewy texture—always opt for fresh marshmallows to ensure smooth melting
- Rice Krispies cereal: 6 cups Rice Krispies toasted rice cereal to provide that signature crisp crunch and light flavor
- White chocolate chips: One and a half cups white chocolate chips for drizzling, adding a sweet, creamy finish—choose good quality chips for a glossy melt
- Candy eyeballs: Candy eyeballs to add character and fun—two per mummy to make them look playfully spooky
- Coconut oil: Two teaspoons coconut oil is optional but recommended to make the melted white chocolate silky and easier to pipe
Instructions
- Prepare Your Pan and Ingredients:
- Lightly grease a 9 by 13 inch nonstick pan with butter or nonstick spray so your mummies will come out easily. Have all your ingredients measured and ready to speed up the process and keep the cereal texture perfect.
- Melt Butter and Marshmallows:
- Place the butter in a large heavy bottomed nonstick pot over medium low heat and let it melt slowly. Then add the marshmallows and stir constantly with a silicone spatula until the marshmallows are completely melted and smooth. Remove from the heat quickly to avoid overcooking, which can make the mixture hard.
- Combine with Rice Krispies:
- Immediately fold in the Rice Krispies cereal using a buttered spatula or clean, greased hands so everything gets evenly coated. Be quick with this step because the mixture sets fast once combined.
- Press into Pan:
- Transfer the mixture to your greased pan and gently press it down with light, even pressure. Avoid compacting the mixture too much to keep the treats tender and easy to bite.
- Cool and Cut:
- Let the mixture cool at room temperature for about 20 minutes until it is firm but still pliable. Then use a sharp, greased knife to cut into rectangles or squares.
- Melt and Pipe White Chocolate:
- Melt the white chocolate chips together with the coconut oil if using. Do this in the microwave by heating in 20 second bursts and stirring well in between until the chocolate is smooth and silky. Transfer this melted chocolate to a piping bag or a plastic bag with a tiny corner snipped off.
- Decorate Mummies:
- Drizzle the white chocolate in a crisscross pattern over each Rice Krispie piece to resemble mummy bandages. While the chocolate is still soft, press two candy eyeballs onto each treat.
- Set and Serve:
- Let the decorated treats sit until the chocolate hardens. You can speed this up by placing them in the refrigerator for a few minutes. Serve on a Halloween themed platter for the full effect.
My favorite part of this recipe is the playful white chocolate drizzle mimicking mummy wraps. I remember one year my niece insisted on adding extra layers of chocolate bandages to her mummies, turning each creation into a unique monster. It reminded me how cooking and decorating can spark creativity and giggles in the kitchen.
Storage Tips
Store Rice Krispie Mummies in an airtight container at room temperature for up to three days to keep them fresh and chewy. If you want to store them longer, refrigeration works but the treats will become firmer so bring them to room temperature before serving. Avoid humid environments to prevent the cereal from getting soggy.
Ingredient Substitutions
You can swap unsalted butter with vegan butter or coconut oil to make these dairy free without sacrificing softness. Using dairy free white chocolate chips means these treats are nicer for those with allergies. For a gluten free option, substitute Rice Krispies with puffed quinoa or certified gluten free brown rice cereal which adds a slightly nuttier taste.
Serving Suggestions
Try sprinkling a little flaky sea salt or even edible gold dust over the white chocolate before it sets to impress guests with unexpected flavor and shimmer. Pair these mummies with warm drinks such as hot cocoa or spiced apple cider to heighten the cozy seasonal vibe.
These Rice Krispie Mummies are a quick no bake treat that bring big joy to Halloween gatherings. Let the kids help decorate for extra fun.
Your Recipe Questions Answered
- → Why do my Rice Krispie treats turn out hard?
Overpacking the mixture or overheating marshmallows can lead to firmness. Use gentle pressure and remove marshmallows promptly from heat for softness.
- → How can I melt white chocolate smoothly?
Microwave in short intervals, stirring frequently. Adding a bit of coconut oil helps achieve a silky, lump-free drizzle.
- → What is the best way to store these treats?
Keep them in an airtight container at room temperature for up to three days, or refrigerate to firm them up for longer freshness.
- → Can I prepare these in advance?
Yes, prepare up to two days ahead and add the chocolate decorations just before serving to keep the look crisp and fresh.
- → How can I adjust this for dietary needs?
Swap butter with vegan margarine or coconut oil, use dairy-free white chocolate, or substitute Rice Krispies with gluten-free quinoa or brown rice cereal.