
 Bookmark
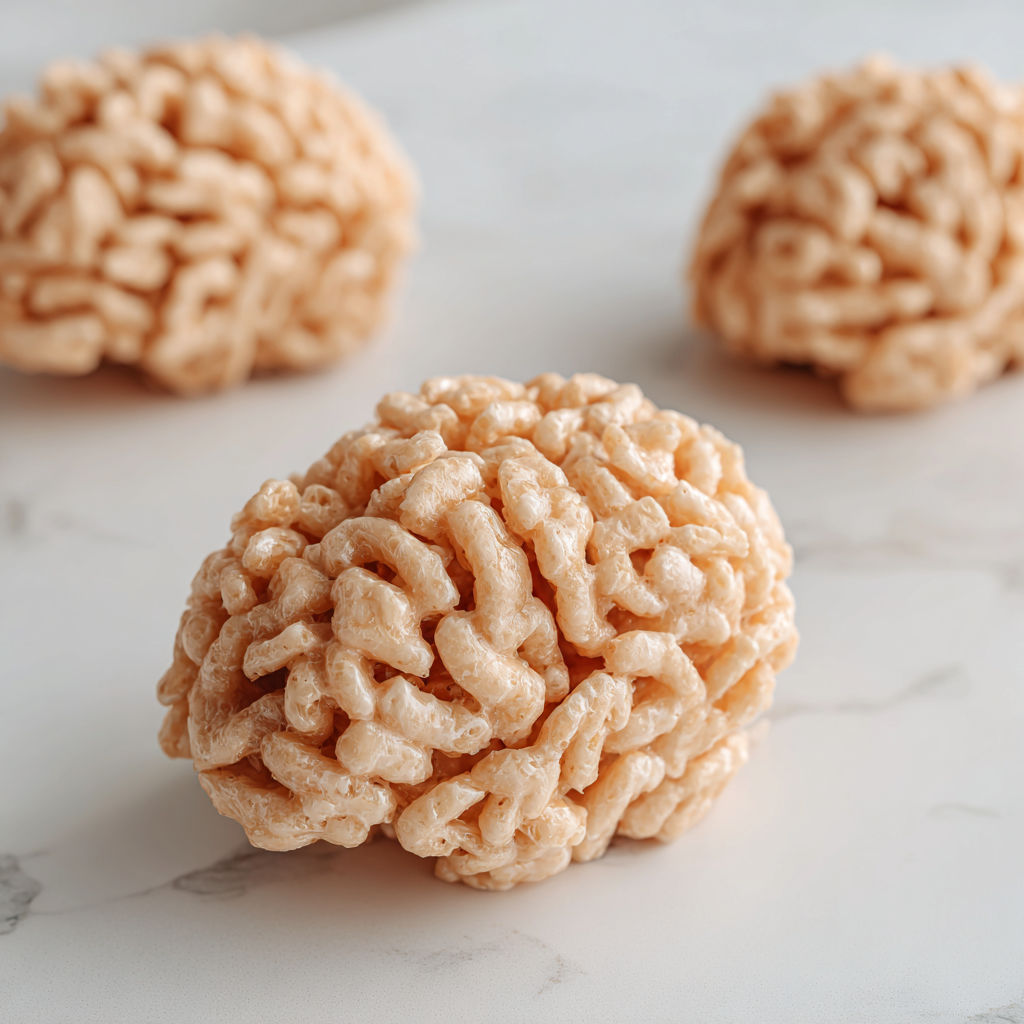
These Rice Krispie Brains make for a fun and spooky Halloween dessert that’s easy to prepare and sure to delight kids and adults alike. With just a few pantry staples, you can create realistic brain shaped treats that add a playful twist to your Halloween party or festive snack table. I remember making these with my daughter one October afternoon, laughing as we experimented with the pink food coloring and trying to perfect our brain shapes—it’s a recipe that brings both creativity and joy to the kitchen.
When I first made these, the combination of ease and fun made it an instant hit with my kids, who now request these for every Halloween celebration.
Ingredients
- Three tablespoons unsalted butter: to add rich flavor and help melt the marshmallows smoothly use fresh unsalted butter for best taste
- One 10ounce bag of mini marshmallows: because their small size melts quickly and evenly for a smooth mixture
- Five cups of Rice Krispies toasted rice cereal: for that classic crispy texture choose the original version for authentic crunch
- Pink food coloring: optional but recommended for a lifelike brain color liquid or gel works fine just add a little at a time
- Extra unsalted butter: to generously coat your hands preventing sticky fingers while shaping the brains
Instructions
- Melt the Butter:
- In a large nonstick saucepan over mediumlow heat, slowly melt the unsalted butter. Swirl the pan gently to ensure the butter melts evenly and does not brown or burn, which can affect flavor.
- Melt Marshmallows:
- Add the mini marshmallows to the melted butter. Stir continuously with a heatproof spatula or wooden spoon, keeping the heat low so the marshmallows melt into a smooth, glossy mixture without burning or sticking. This step creates the glue for your treats and needs gentle attention.
- Add Food Coloring:
- If you want your brains to look realistic, add pink food coloring one drop at a time. Stir thoroughly after each addition until you reach a natural looking pink hue. Avoid adding too much at once to prevent overly strong color or flavor.
- Incorporate Rice Krispies:
- Remove the pan from the heat. Quickly fold in the Rice Krispies cereal with a spatula, mixing gently until all the cereal is coated with the marshmallow mixture. Be careful not to smash the cereal to keep the texture light and crispy.
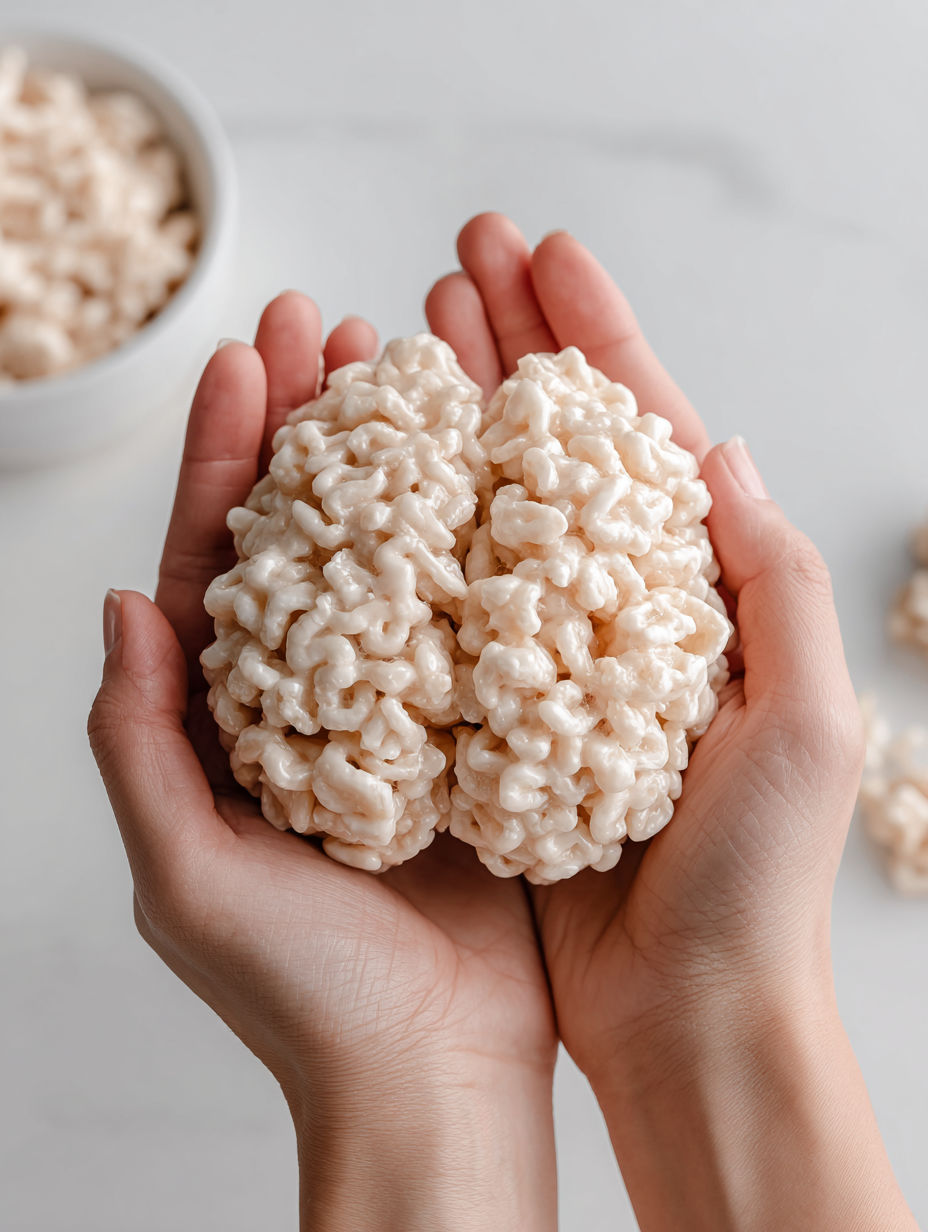
- Shape the Brains:
- Butter your hands generously as this prevents sticking during shaping. While the mixture is still warm and pliable but not hot, scoop out portions and mold them into oval shapes resembling brains. Use your fingers to create grooves and folds by pressing and dragging lightly to mimic the surface texture of brains. This step lets your creativity shine.
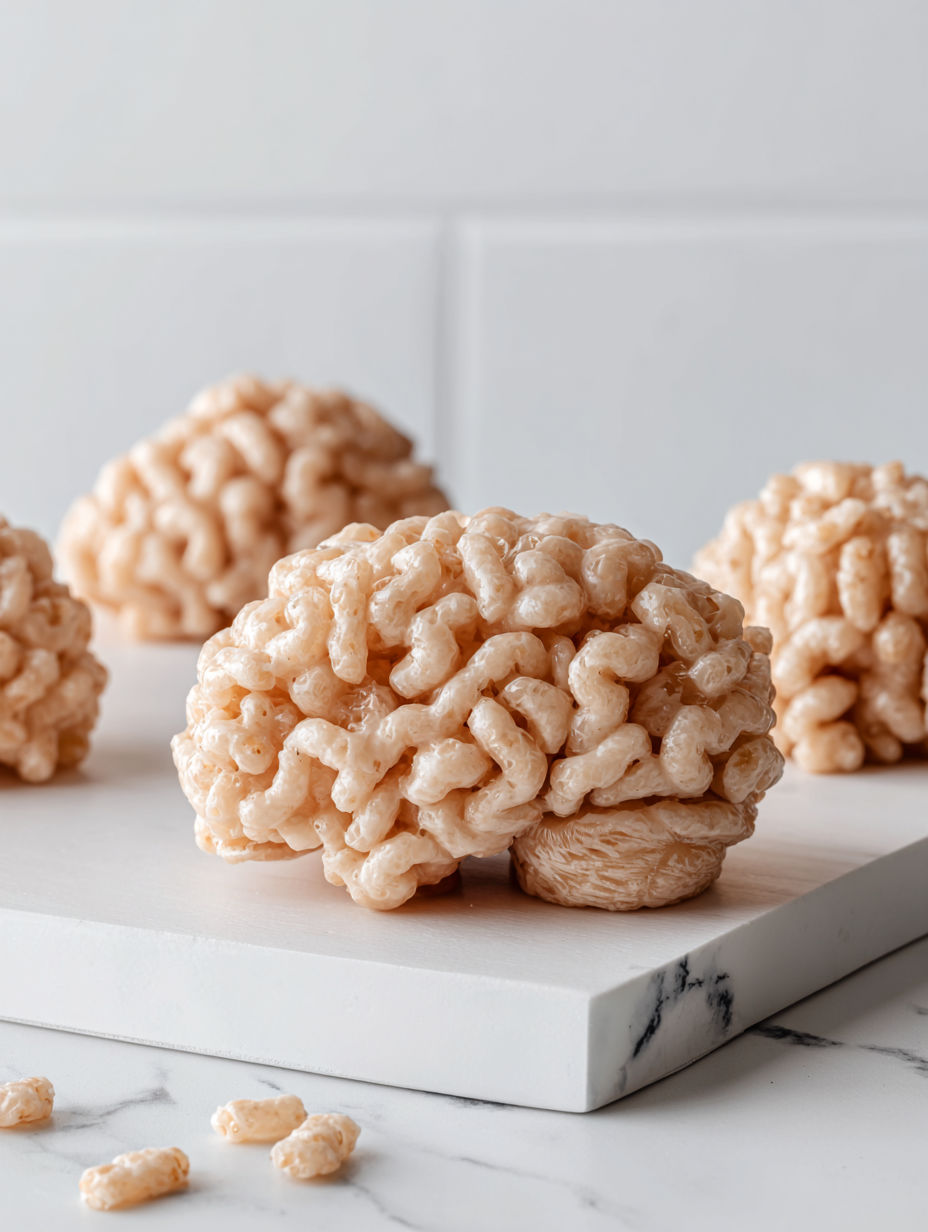
These brain treats bring back so many Halloween memories for me, especially the excitement in my daughter’s eyes as we transformed a simple snack into something eerie and fun. I love the way the pink coloring makes the brains look incredibly lifelike, and the texture is just the right balance of crispy and chewy.
Storage Tips
Store your Rice Krispie Brains in an airtight container at room temperature to keep them soft and chewy. Refrigerating them causes the marshmallow to harden and the texture to become less enjoyable. Consume them within two days for the best flavor and consistency.
Ingredient Substitutions
Unsalted butter can be replaced with refined coconut oil for a dairy free alternative. It adds a slight coconut aroma and helps the mixture set with a glossy shine. Use beet juice instead of pink food coloring for a natural additive free tint that won’t affect the flavor strongly.
Serving Suggestions
For an extra spooky twist, decorate the brains with red gel icing to draw veins or drizzle melted white chocolate for contrast. Serve them on a black platter with some edible glitter or candy corns to enhance the Halloween vibe. Pair with a cold punch or festive cocktail for a memorable party spread.
These Rice Krispie Brains are not only a sweet treat but a way to make Halloween celebrations a little more creative and fun. Whether you are baking with kids or looking for a quick spooky dessert, this recipe delivers that perfect mix of fright and delight in every bite.
Your Recipe Questions Answered
- → Why are my treats too hard or crunchy?
Overheating the marshmallow mixture or packing the cereal too tightly can cause firmness. Mix gently and shape while warm and pliable to keep them soft.
- → How do I prevent sticking when shaping?
Generously butter your hands before shaping and reapply as needed to keep the mixture from sticking.
- → Is food coloring necessary?
No, the treats can be left plain for a subtle look. For vibrant color, add pink food coloring or natural beet juice.
- → Can these be prepared in advance?
Yes, shape them a day before your event and store airtight at room temperature to maintain texture.
- → What are some serving suggestions?
Pipe red gel icing veins or drizzle white chocolate. Serve with spooky drinks or on black platters with edible glitter for a dramatic effect.