
 Bookmark
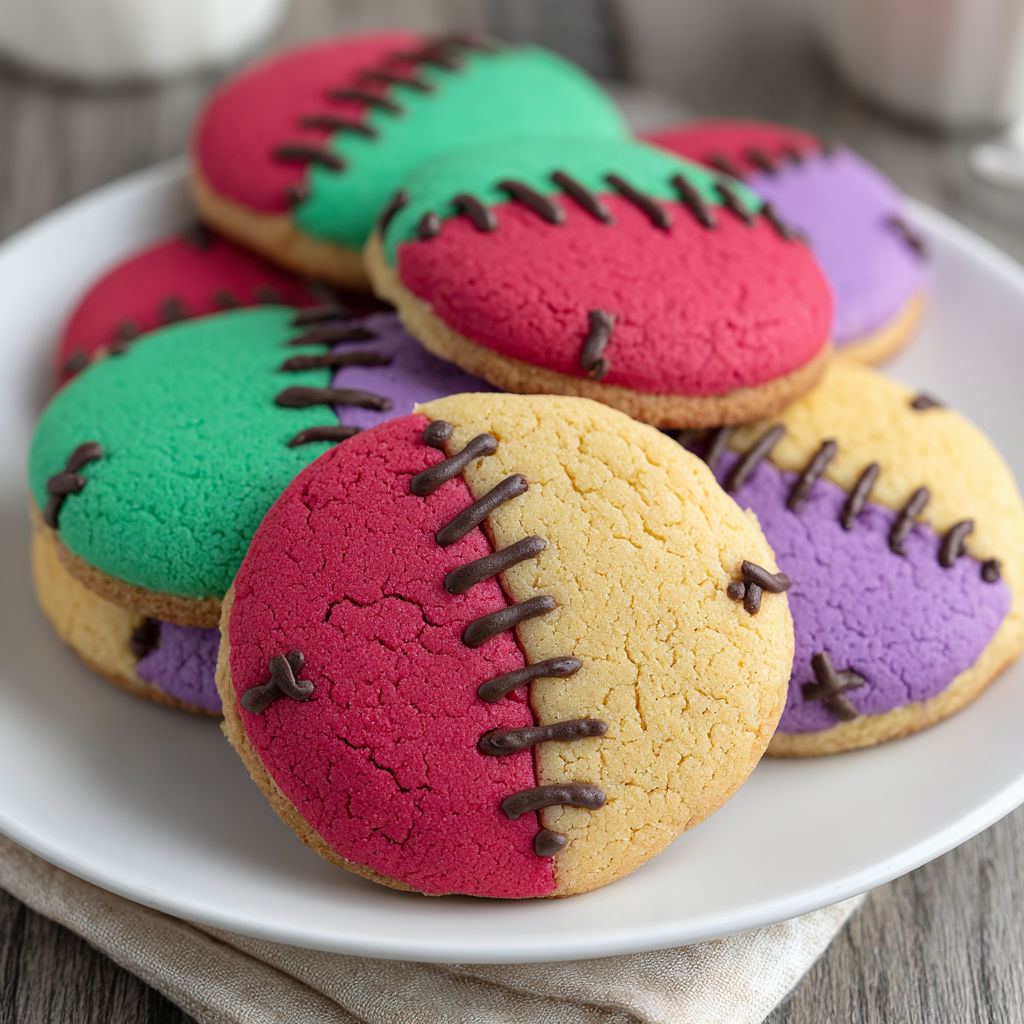
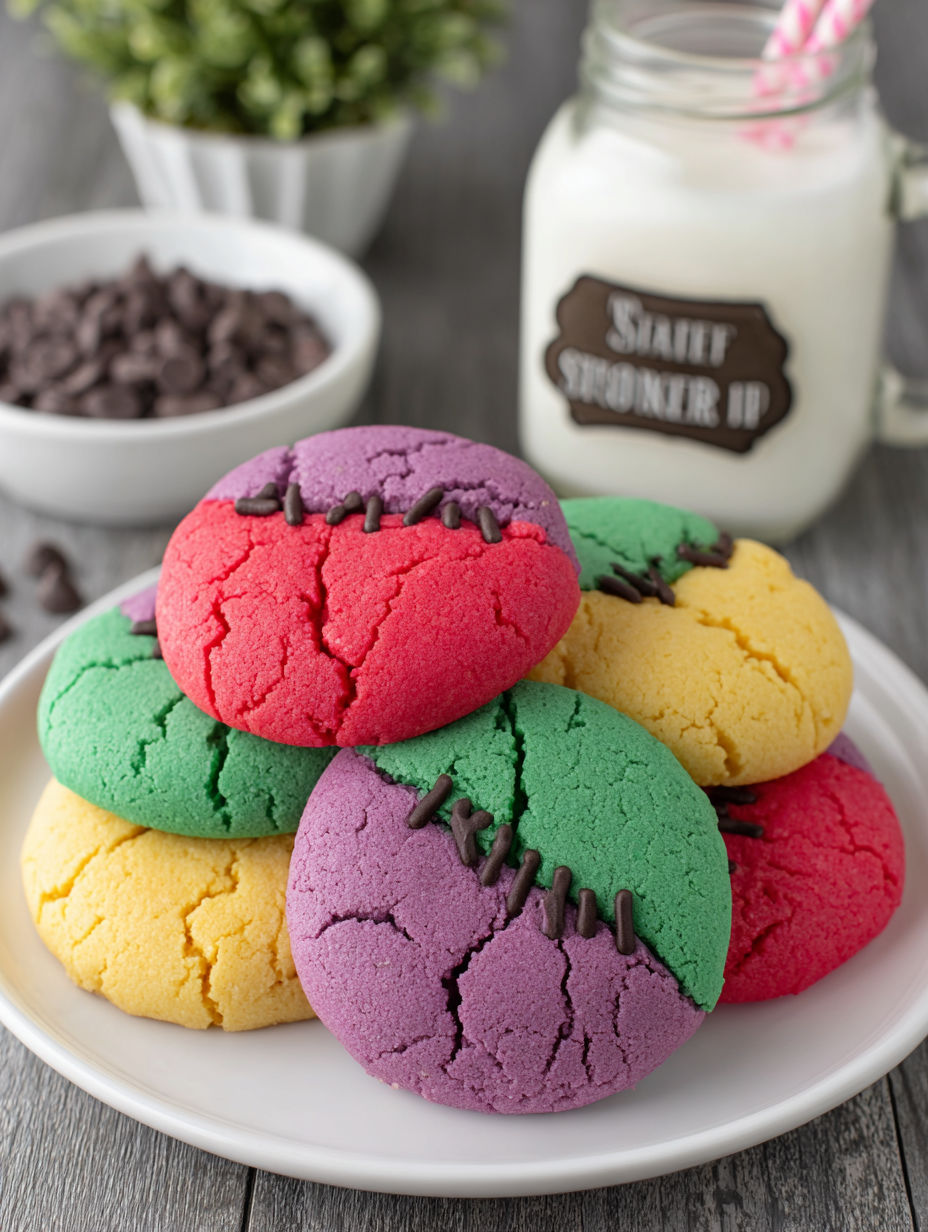
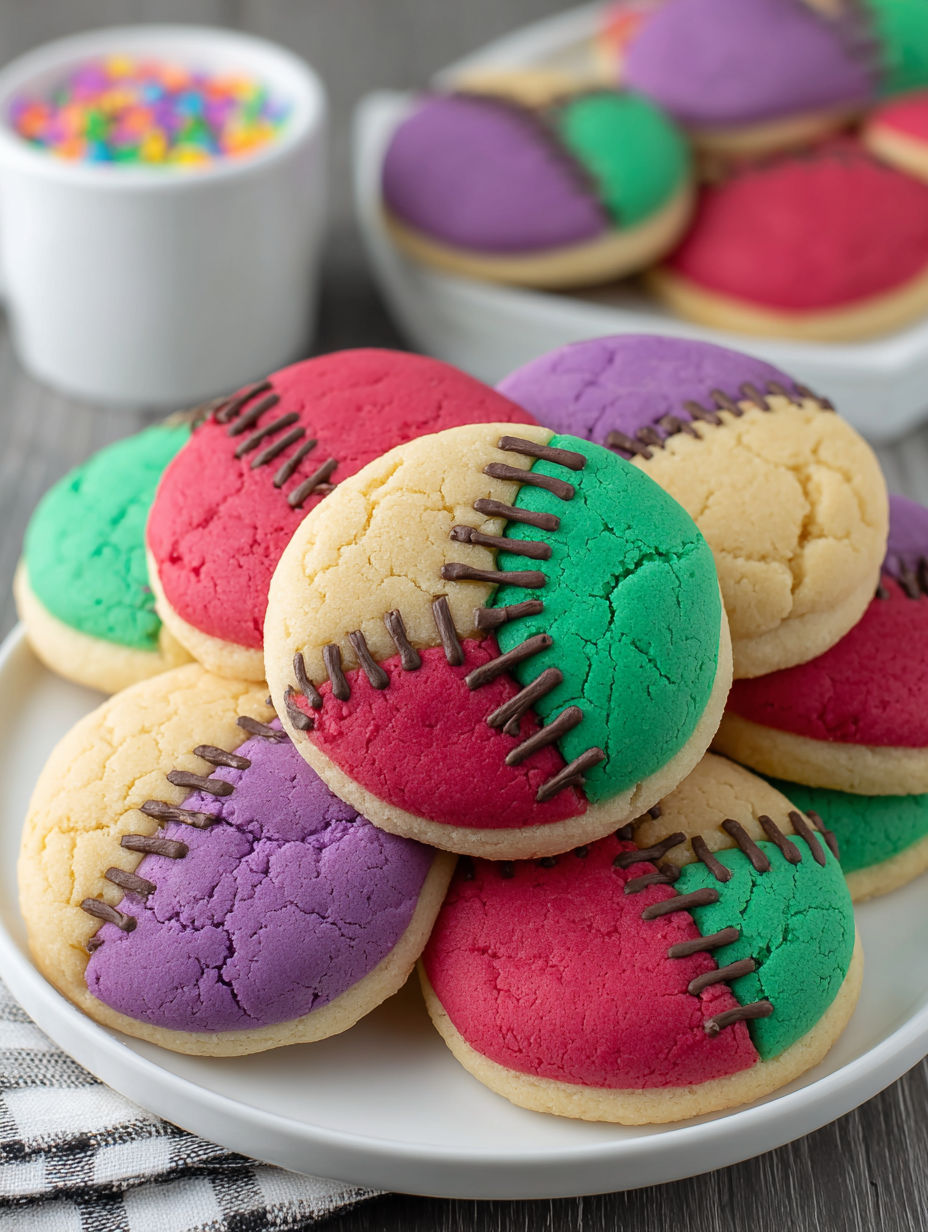
These stitched sugar cookies bring a burst of color and fun to your party table, perfect for Halloween or any festive occasion. The patchwork effect combined with the delicate chocolate stitches makes each cookie feel like a little work of edible art. These cookies are great for baking with kids or simply impressing your guests with something playful and tasty.
I remember spending hours with my grandma decorating cookies just like these, and it became a treasured tradition filled with laughter and creativity. I first made these for a Halloween party, and now they're a favorite at every family gathering.
Ingredients
- All purpose flour: Two and three quarter cups provides the sturdy base for these cookies choose fresh flour for best texture
- Baking soda: One teaspoon helps with gentle leavening so the cookies rise just enough
- Baking powder: Half a teaspoon adds extra lift and lightness
- Salt: Half a teaspoon balances sweetness and enhances flavor
- Unsalted butter: One cup softened at room temperature creates tender rich dough
- Granulated sugar: One and a half cups adds sweetness and helps with gentle crisp edges
- Egg: One large egg binds everything together and enriches the dough
- Vanilla extract: Two teaspoons give warm aromatic flavor
- Food coloring gels: Half a teaspoon each of red green purple yellow and orange food coloring gels create bright festive dough batches opt for gel over liquid to avoid affecting dough texture
- Semi sweet chocolate chips: Half a cup melt smoothly for the stitch decorations choose good quality for best shine and flavor
- Coconut oil: One teaspoon added while melting chocolate makes it glossy and easier to pipe
Instructions
- Prepare and Measure Ingredients:
- Allow butter to soften fully at room temperature this ensures it creams properly which is key to light texture. Measure flour carefully by scooping and leveling for consistent dough. Set out food coloring gels ahead so you can color each batch quickly and evenly.
- Mix and Cream:
- Using a large bowl and mixer or sturdy spoon beat softened butter with granulated sugar for around two to three minutes until pale and fluffy. Mix in egg and vanilla extract thoroughly scraping down bowl sides for even incorporation.
- Combine Dry Ingredients:
- Whisk together flour baking soda baking powder and salt in a separate bowl to distribute leavening and salt evenly throughout the dough. Gradually add this dry mix to the butter mixture on low speed just until dough forms with no streaks. Overmixing can toughen cookies.
- Divide and Color the Dough:
- Divide dough evenly into five portions. Add one color gel per portion in your chosen shades. Stir or knead gently until color is deep and uniform. Add tiny amounts more gel if needed but avoid overworking dough to keep colors bright.
- Shape and Chill Dough:
- Wrap each colored dough ball tightly in plastic wrap and chill for a minimum of thirty minutes. This step firms the dough preventing colors bleeding during baking and makes the dough easier to handle and shape by hand.
- Form Multicolored Cookies:
- On a lightly floured surface pinch or cut small pieces from each color dough and gently press them together forming patchwork disks or logs. Avoid blending edges completely to keep distinct color seams. Roll or press dough to your preferred thickness. Use cookie cutters if you want uniform shapes for a more polished look.
- Bake:
- Preheat the oven to three hundred fifty degrees Fahrenheit (one hundred seventy five Celsius). Place cookies spaced on parchment lined baking sheets. Bake for nine to eleven minutes just until edges begin to turn golden. The centers should remain soft to retain tenderness. Overbaking dulls colors and makes cookies harder.
- Cool and Add Chocolate Stitches:
- Allow cookies to cool fully on wire racks before decorating. Melt chocolate chips with coconut oil in short microwave bursts stirring frequently until smooth and glossy. Transfer melted chocolate to a piping bag or small resealable bag with the tip snipped very small. Pipe thin stitch lines along the seams where dough colors meet to mimic whimsical patchwork sewing. Let the chocolate set at room temperature before serving.
My favorite part is the chocolate stitches—they remind me of sewing with my grandma as a child turning cookies into little stories on a plate. The combination of colorful dough with those delicate lines always gets compliments and happy smiles around the table.
Storage Tips
Store cookies in an airtight container at room temperature to keep them soft for up to five days. Keep layers separated with parchment paper to avoid the chocolate stitches rubbing off. For longer storage freeze plain baked cookies without chocolate decoration then pipe the chocolate after thawing.
Ingredient Substitutions
Butter can be swapped for margarine or vegan butter brands but expect a slight change in flavor and texture. Use vegetable shortening instead of coconut oil to melt chocolate if you prefer a neutral taste or avoid coconut flavor. Natural plant based food color gels work well though colors may be softer.
Serving Suggestions
Pair with warm drinks like hot cocoa or spiced tea to complement the sweetness and chocolate detail. Try adding a splash of almond or orange extract to the dough for subtle festive flavor twists and make themed colors for different holidays or birthdays.
Have fun with the colors and take time to practice your piping for neat stitches. These cookies make a festive gift and bring big smiles at parties.
Your Recipe Questions Answered
- → Why do my colored doughs bleed together during baking?
Colored doughs can bleed if not chilled properly or if dough seams are over-blended. Ensure chilled dough portions and gentle assembly to preserve distinct colors.
- → How can I prevent my cookies from spreading too much?
Chilling shaped cookies before baking helps retain shape and sharp seams. Also, avoid using overheated butter and consider reducing oven temperature slightly.
- → What keeps chocolate stitch lines shiny and neat?
Adding coconut oil or shortening to melting chocolate creates a glossy finish. Use a small piping tip and avoid overheating for smooth, clean lines.
- → Can liquid food coloring replace gel food coloring?
Liquid coloring thins dough and can affect texture and spreading. Gel coloring is preferred to maintain dough consistency and vibrant colors.
- → How do I avoid chocolate seizing when melting?
Melt chocolate in short bursts, stirring frequently. Make sure all utensils are dry since any water contact can cause chocolate to seize.