
 Bookmark
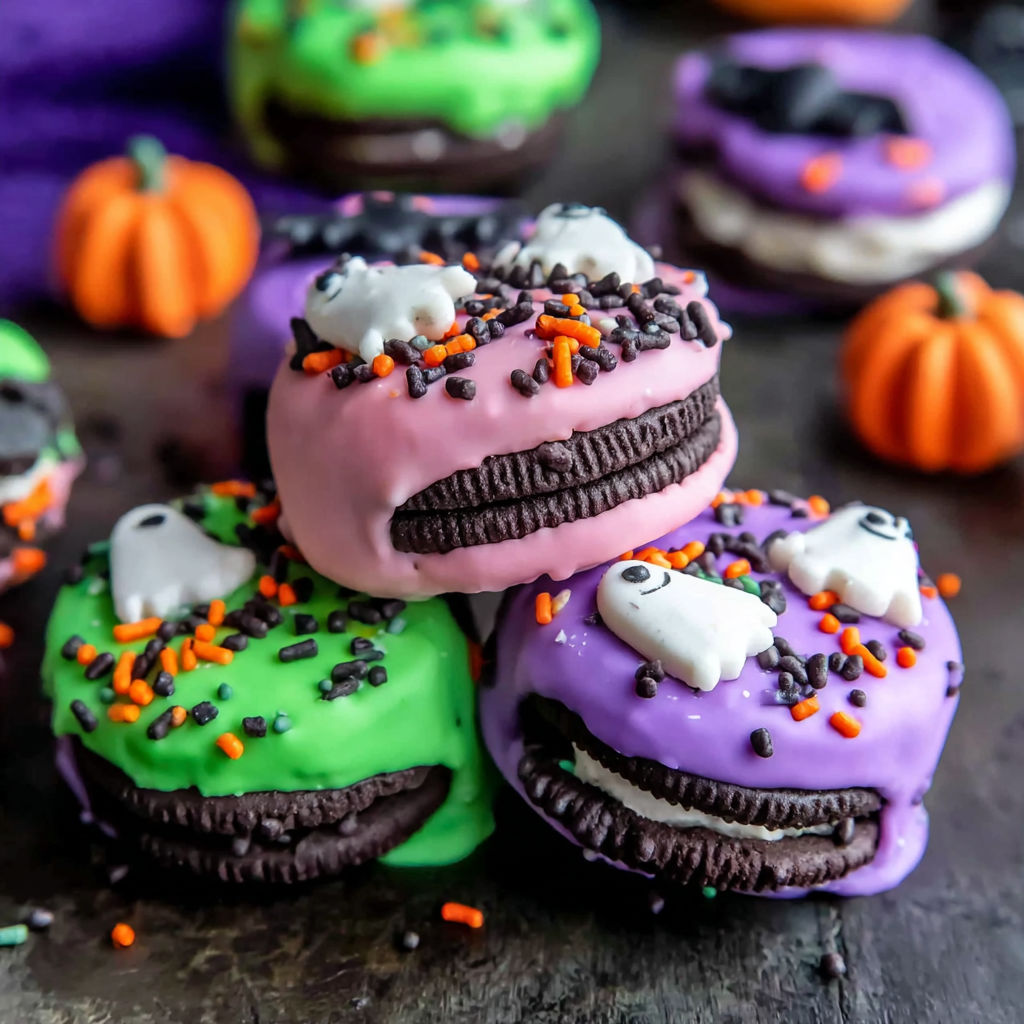
These colorful chocolatecovered Oreos are one of the easiest Halloween treats to make with kids. Using just three colors of melting chocolate and a handful of spooky sprinkles, you can transform ordinary Oreos into festive, eyecatching party snacks. No baking is needed which means you can whip these up quickly for lastminute gatherings or fun holiday crafts.
I first made these with my niece when she was just learning to help in the kitchen and it instantly became a favorite activity for both of us. Now each Halloween she requests this recipe to share at school parties because the kids love how colorful and fun the cookies look.
Ingredients
- 12 Oreo cookies: classic choice for a perfect crunchy and creamy base
- Purple melting wafers: use candy melts labeled for coating to ensure smooth melting and vibrant color
- Green melting wafers: choose quality candy melts for bright coverage without clumping
- Orange melting wafers: opt for professional melt wafers for best texture and shine
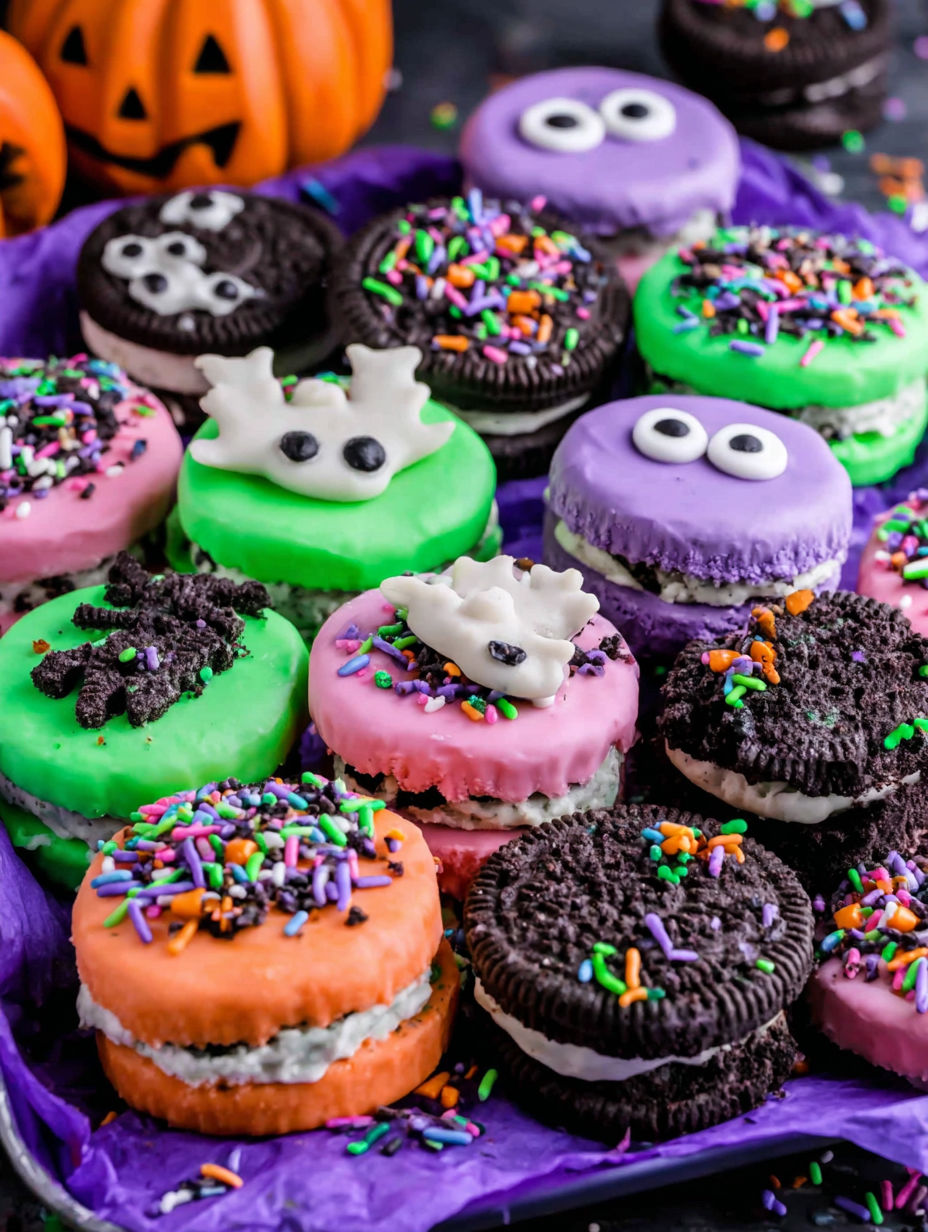
- Halloween sprinkles: bats pumpkins ghosts and eyeballs add playful spooky touches try to get a variety for maximum effect
Instructions
- Prep the work area:
- Line a baking sheet with parchment paper or a silicone mat to prevent sticking and ease cleanup. Separate sprinkles into small bowls so they are ready when needed.
- Prepare the melts:
- Place the purple green and orange melting wafers into three separate microwavesafe bowls to keep the colors distinct and avoid mixing.
- Melt the wafers:
- Microwave each bowl individually in 30 second intervals stirring in between until the wafers are completely melted smooth and easy to dip into. Stirring helps avoid overheating or burning the candy.
- Dip the Oreos:
- Using a fork or a dipping tool gently dip each Oreo into the melted coating making sure it is fully covered. Let the excess coating drip off to prevent pooling under the cookie.
- Color distribution:
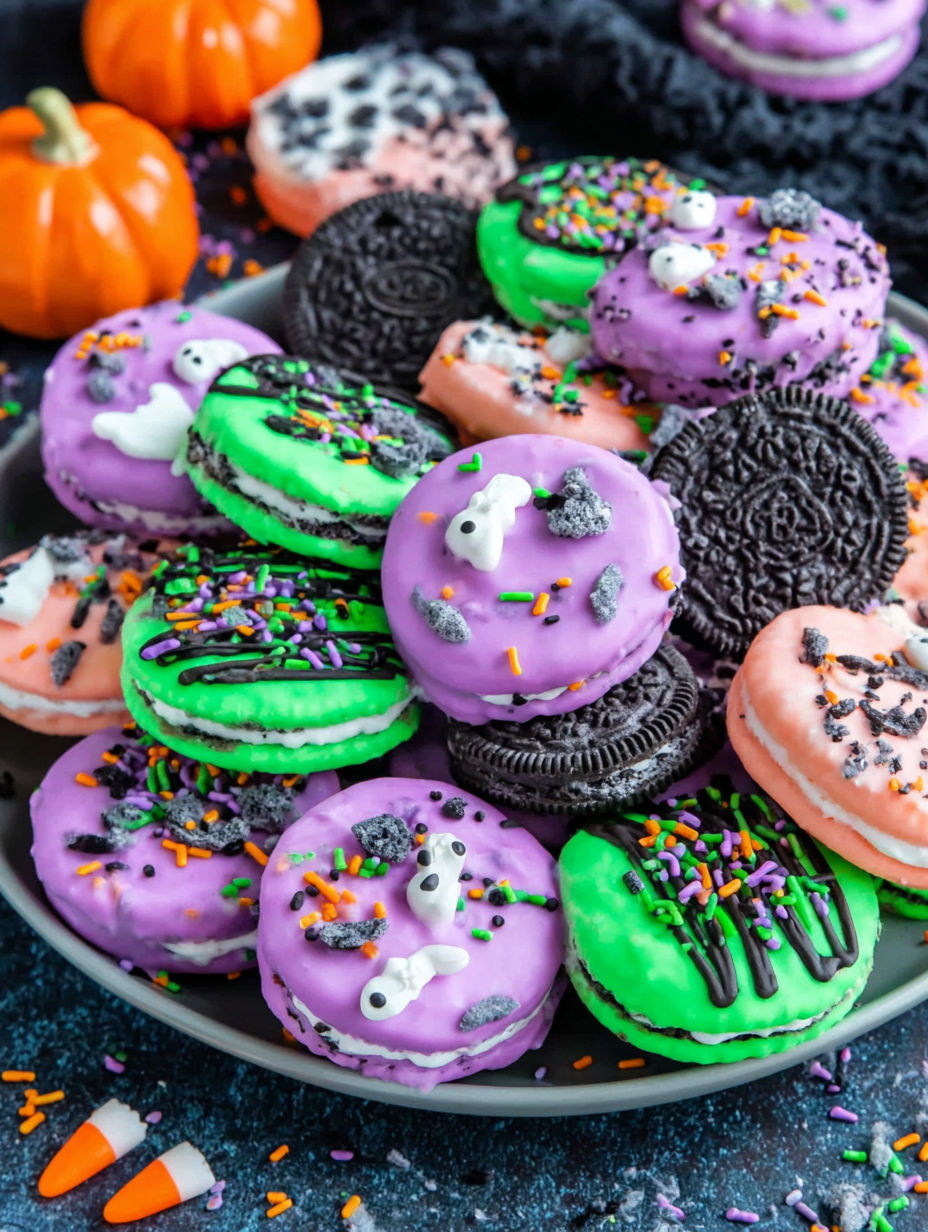
- Dip 4 Oreos in purple 4 in green and 4 in orange for a nice color variety that looks festive and fun on a serving plate.
- Add sprinkles:
- While the coating is still wet generously sprinkle the Halloween decorations over each cookie. Be creative with your designs to make each one unique and very festive.
- Set the coating:
- Let the decorated Oreos sit at room temperature until the coating hardens completely which takes about 30 minutes to an hour. If you want to speed this up place them in the refrigerator for about 15 minutes to set faster.
- Serve or store:
- Once set arrange the cookies on a festive plate or store in an airtight container until ready to serve so they stay fresh and crunchy.
My favorite part of this recipe is how versatile the melting wafers are allowing you to play with colors and designs. One year my family made a whole platter with spooky eyes on every cookie and it was a huge hit at our Halloween party. The joy of making something simple look magical is what keeps me coming back to this treat every October.
Storage Tips
Store the chocolate covered Oreos in a cool dry place in an airtight container to keep them crisp and to prevent the chocolate from melting or blooming. Avoid keeping them in direct sunlight or warm areas. These treats do well at room temperature but if you are in a hot climate refrigeration helps them stay firm longer.
Ingredient Substitutions
If you cannot find melting wafers you can use high quality white chocolate combined with gelbased food coloring to achieve similar results but be mindful that white chocolate requires more careful melting to avoid burning. Sprinkles can be swapped for any festive edible decorations or even finely chopped nuts or colored sugar for texture and color variation.
Serving Suggestions
These colorful Oreos are perfect to serve on Halloween dessert tables with other treats like caramel apples popcorn balls and candy corn. Arrange them on decorated plates with Halloween themed napkins for a fun presentation. They also make cute packaged gifts when wrapped in cellophane tied with a ribbon and a little Halloween tag.
These colorful chocolatecovered Oreos are a quick festive treat to make with kids and are easy to customize for any holiday. Pack them in airtight containers for gifting or serving.
Your Recipe Questions Answered
- → What types of chocolate melts are best for coating the Oreos?
Use colored melting wafers in purple, green, and orange for easy melting and smooth coverage. Candy melts designed for dipping work best.
- → How do I prevent the chocolate from cracking on the cookies?
Make sure the chocolate is fully melted and smooth, and dip the cookies quickly but thoroughly. Allow them to set at room temperature or refrigerate briefly to harden without cracking.
- → Can I prepare these ahead of time?
Yes, once the chocolate sets, store the decorated Oreos in an airtight container. They keep well for several days, ideal for party prep.
- → What sprinkles work best for decorating?
Use Halloween-themed sprinkles like bats, pumpkins, ghosts, and candy eyeballs to add a spooky touch to the coated Oreos.
- → Is it necessary to bake the Oreos?
No baking is required. The Oreos are simply dipped into melted chocolate and decorated before setting to create instant festive treats.
- → How can kids safely participate in making these treats?
Kids can help with sprinkling decorations and arranging cookies. Adults should handle melting the chocolate and dipping to ensure safety.