
 Bookmark
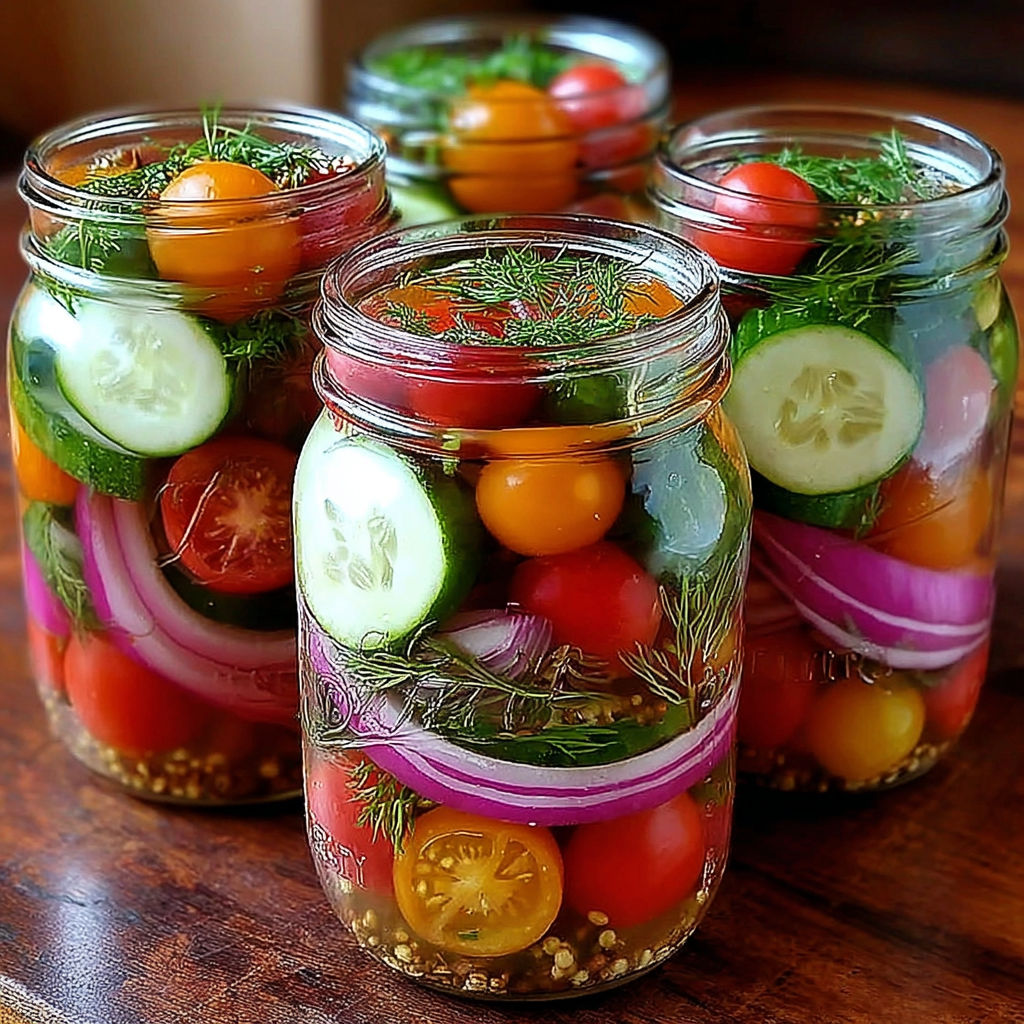
These vibrant pickled cherry tomatoes, cucumber, and red onion make the most of summer’s abundance in just a few hours. Their super crisp texture and lively sweet-sour taste brighten up even the simplest meal with almost no effort. Quick pickling lets you enjoy eye-catching, garden-fresh veggies all season long, and I love how versatile this recipe is. Layered in jars, the vegetables quickly take on aromatic flavors from mustard seed, garlic, and dill, making these an all-purpose condiment for sandwiches, salads, and snacks.
The first time I made these was at the end of tomato season when I was overloaded with produce. I was amazed by how easily these pickles elevated everything from grain bowls to burgers. Now I keep a jar year-round because my family loves their bright flavor and crisp snap.
Ingredients
- Fresh cherry tomatoes: Select firm and brightly colored tomatoes without soft spots for best results
- Crisp cucumber: Choose ones with vibrant green skin and no soft areas to ensure the pickles stay crunchy
- Red onion: Look for firm onions with papery skin and no green shoots to get a mellow, slightly sweet base
- White vinegar: Brings the bracing tang you want in a pickle and makes sure the veggies stay preserved
- Granulated sugar: Balances out the sharp acidity and rounds out every bite
- Kosher salt: Draws out excess moisture while boosting flavor and keeping the vegetables crunchy
- Mustard seeds: Layer in aromatic warmth and gentle spice as the brine infuses the veggies
- Black peppercorns: Deliver just enough subtle heat and complexity
- Fresh garlic: Smashed cloves infuse the brine with essential foundation flavor
- Fresh dill: Optional but recommended for that classic pickle essence and herbal aroma
Instructions
- Vegetable Preparation:
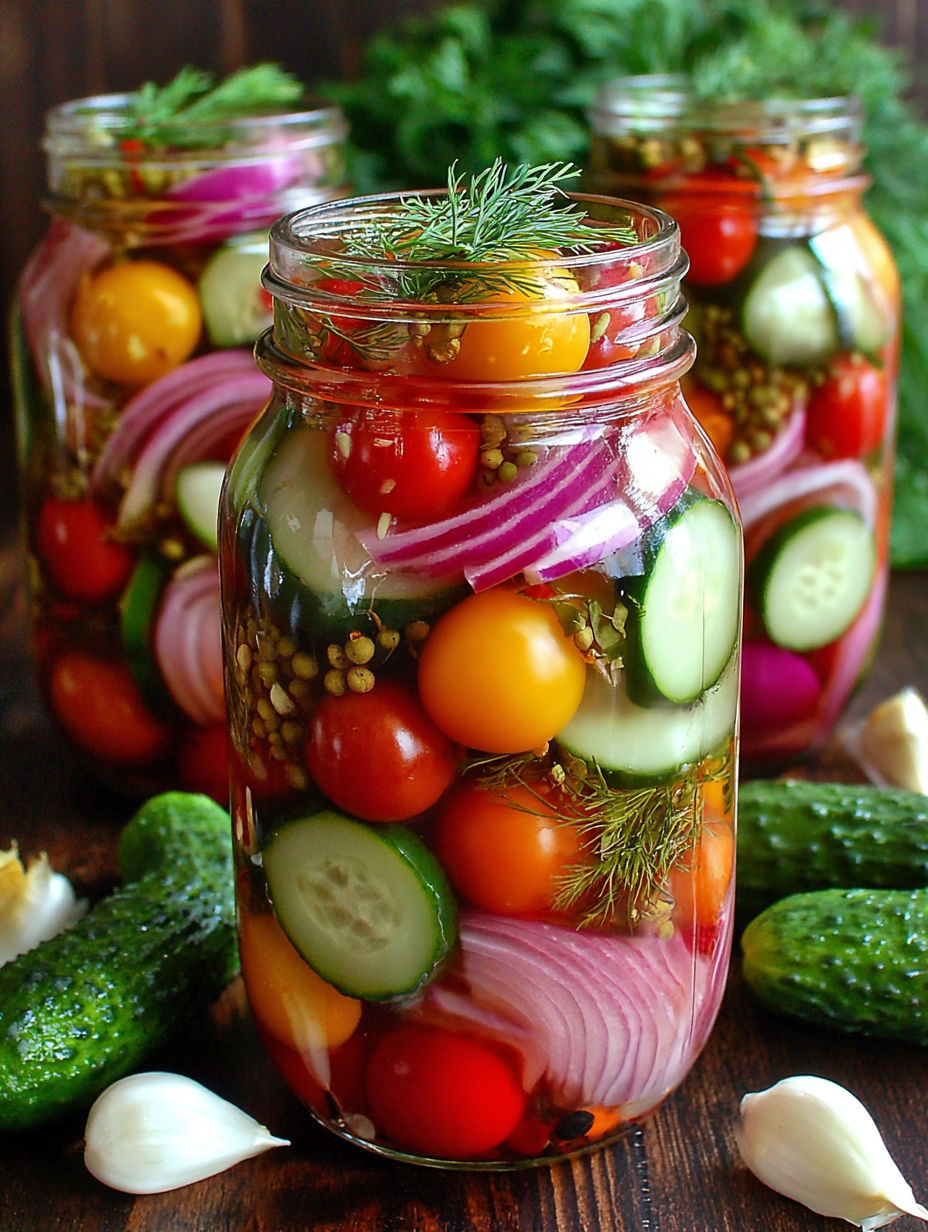
- Wash all your vegetables under cold water and dry each piece completely to avoid excess water in the jar. Slice cherry tomatoes in half so they soak up more brine. Cut cucumbers into rounds about a quarter inch thick for perfect bite and texture. Slice red onion into thin half-moons for beautiful color and balanced flavor in every bite.
- Jar Assembly:
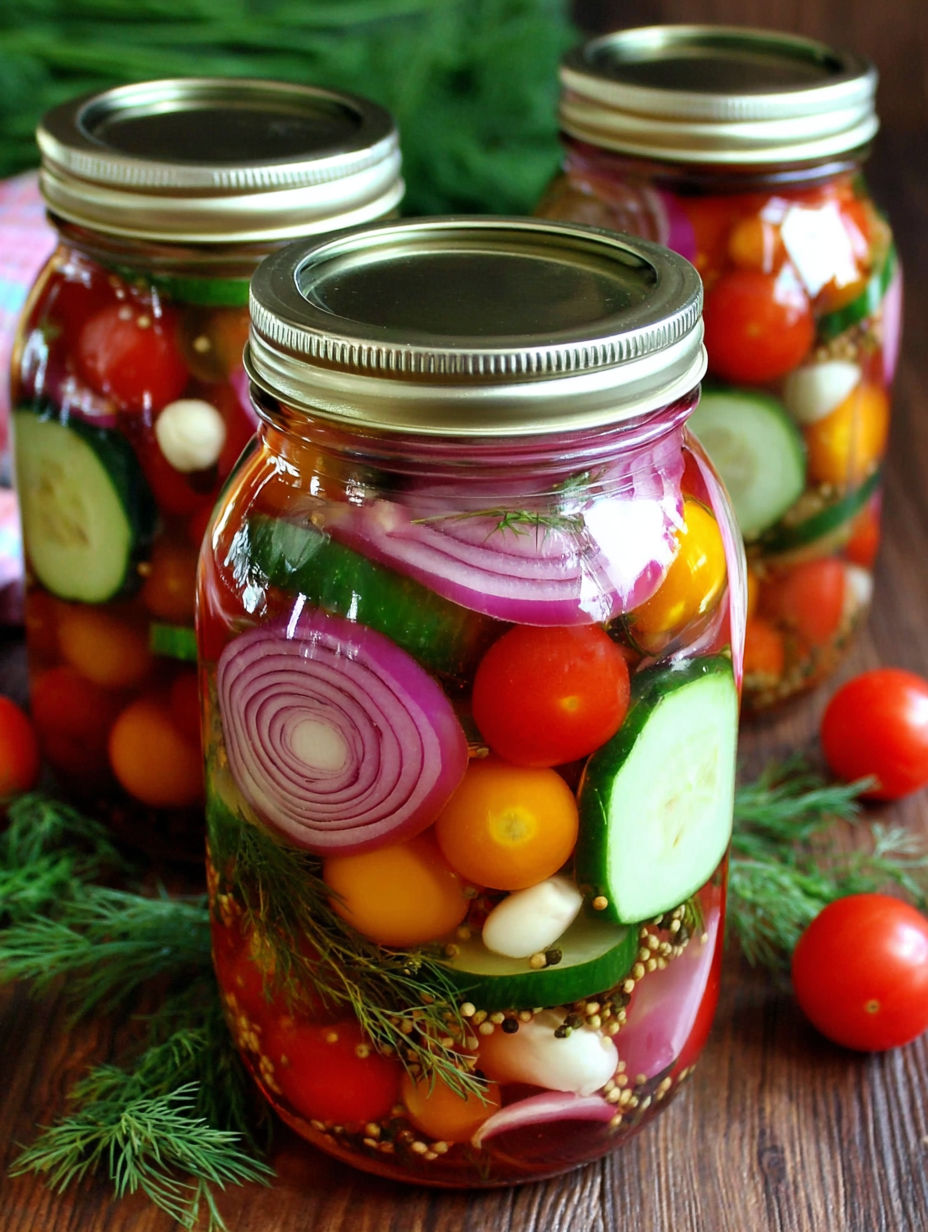
- Start layering vegetables in a clean quart jar, alternating tomatoes, onions, and cucumbers with garlic and dill if using. Try to balance the colors as you go for a picture-perfect look. Press down lightly to fill all the nooks and keep the layers tight but not packed.
- Brine Creation:
- Combine white vinegar, water, sugar, salt, mustard seeds, and black peppercorns in a small saucepan. Heat over medium and stir constantly as the mixture comes to a rolling boil. Let the sugar and salt dissolve completely so the brine turns clear and fragrant. You want the brine hot but not so vigorous it reduces too much.
- Brine Application:
- Take the brine off the heat and let it cool for two or three minutes so it does not shock the vegetables. Carefully pour the warm brine over the jarred veggies until everything is submerged. Use a clean spoon to gently press the layers down and release any trapped air bubbles.
- Cooling Process:
- Leave the filled jar to cool on the counter until it hits room temperature. This should take about thirty minutes and prevents glass jars from cracking. This step is key because it lets the veggies start soaking in flavor right from the start.
- Refrigeration And Marinating:
- Seal the jar with its lid and place it in the refrigerator for at least four hours to let flavor develop. Overnight is even better if you have time. The longer they rest the more developed and punchy the flavors will be.
When I first added dill to this recipe I was surprised how much it pulled the flavors together it reminded me of the pickled veggies my grandmother always had at her table year-round. Each bite brings back those memories especially the zesty little tomatoes that burst with flavor.
Creative Serving Ideas
Try these pickles with grilled steak or chicken. Their acidity balances the richness of meats beautifully. You can pile them onto sandwiches for a juicy, crunchy topping or toss them on a cheese board where their color really pops. Sometimes I even snack on these straight from the jar as a crunchy alternative to chips.
Flavor Variations
For extra heat add red pepper flakes or sliced fresh jalapeno before pouring in the brine. Swap in apple cider or rice vinegar for a twist on the classic sour flavor. You can add herbs beyond dill like fresh thyme or basil to match whatever’s in your garden. More sugar makes them sweeter and a bay leaf or two adds depth and earthiness.
Storage Guidelines
Always keep the pickles in a tightly sealed jar in the refrigerator to preserve texture and flavor. Use clean utensils to serve and avoid dipping straight in with your fingers. The pickles will be crunchiest the first few days but actually taste even better as they soak up the brine over one or two weeks.
Each time I make this recipe I love experimenting with a new herb or a different vinegar. The simplicity of pickling opens the door to creativity and the result can transform your meals in a single scoop from the jar.
Your Recipe Questions Answered
- → How long should the vegetables marinate?
Marinate at least 4 hours, but overnight chilling gives even deeper flavor and better texture.
- → Can I swap in different vegetables?
Yes! Radishes, bell peppers, or cauliflower work well. Just keep uniform slices for even pickling.
- → How do I adjust the tanginess?
Reduce vinegar or add extra sugar to the brine for a milder, more balanced profile.
- → What dishes pair well with these pickled vegetables?
Serve alongside grilled meats, on sandwiches or salads, or simply snack straight from the jar.
- → How long will these keep refrigerated?
They stay fresh for up to 2 weeks. Flavors deepen and become more complex over time.
- → Should jars be sterilized before use?
Yes, clean jars with hot water to maintain freshness and food safety for longer storage.