
 Bookmark
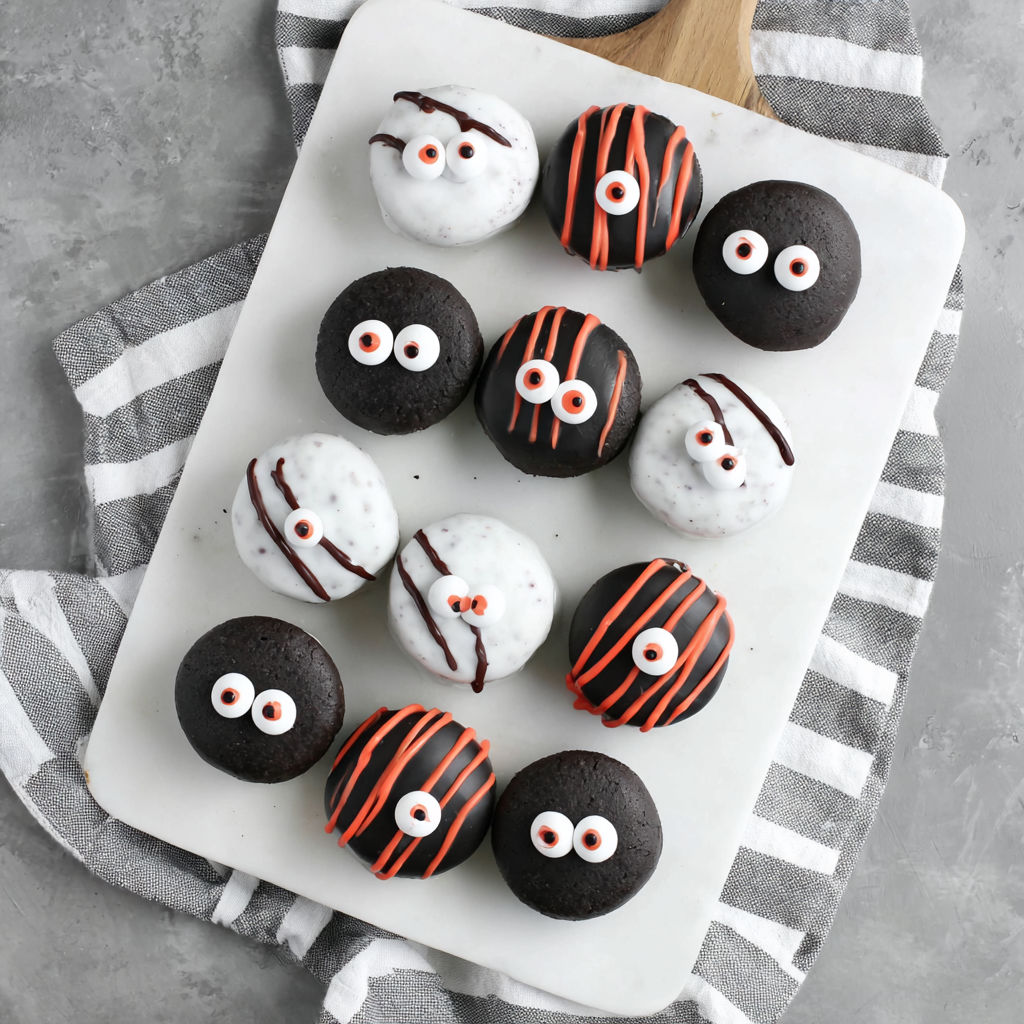
Oreo Eyeballs are the perfect spooky nobake treat for Halloween, blending the classic creaminess of Oreos and cream cheese with a fun and creepy presentation. These bites are easy to make, require no baking, and will definitely impress guests at any Halloween gathering.
I first made these during a family Halloween party and now they have become a much anticipated yearly tradition that even grownups can’t resist
Ingredients
- Oreo Cookies: choose standard chocolate sandwich cookies for that signature cream and chocolate combo
- Cream Cheese: softened helps bind the crumbs and adds creamy richness
- White Candy Melts or white chocolate chips: for a smooth coating that hardens nicely melt gently to avoid clumping
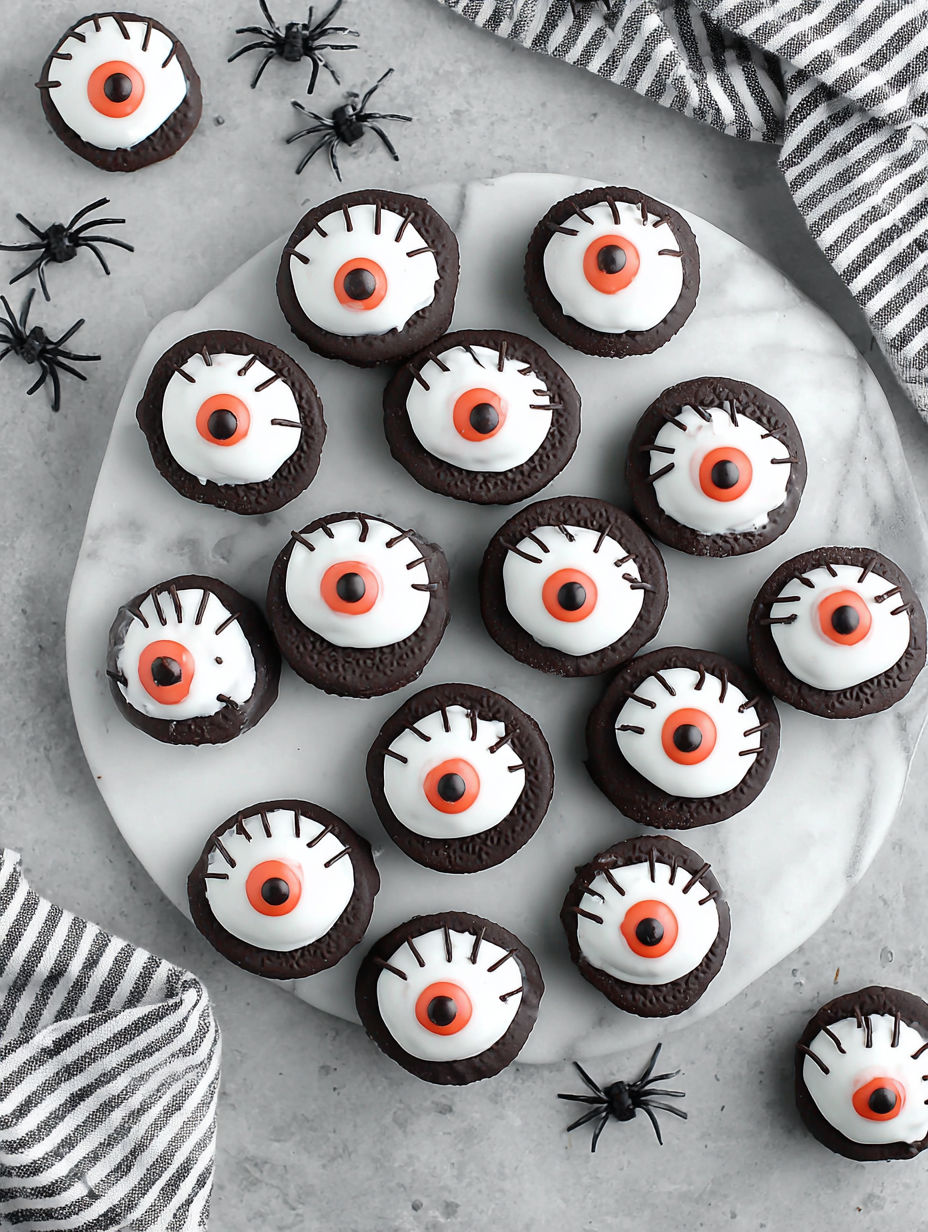
- Candy Eyes: for decorating to achieve the spooky eyeball look alternatively small candies or dark chocolate can work
- Red Decorating Gel: adds the creepy bloodshot effect food coloring markers or thin strips of red licorice are great substitutes
Instructions
- Scoop and Crush:
- Put whole Oreo cookies into a ziplock bag then crush them finely by pressing and rolling until there are no large chunks left
- Combine Filling:
- In a medium bowl, mix the crushed Oreos with softened cream cheese ensuring the mixture is fully blended into a sticky dough
- Shape Balls:
- Scoop out the mixture using a cookie scoop or spoon then roll gently with your hands into oneinch balls. Place each ball on a lined baking sheet
- Chill:
- Put the formed balls in the refrigerator for at least one hour to help them firm up and be easier to coat
- Melt the Coating:
- Heat the white candy melts in a microwave safe bowl in 30 second intervals stirring in between to avoid burning until fully smooth
- Coat the Balls:
- Take chilled balls and carefully dip each one into the melted candy ensuring it is fully covered return to the lined baking sheet
- Harden the Coated Balls:
- Place the coated balls back into the refrigerator for about 30 minutes so the coating can harden properly
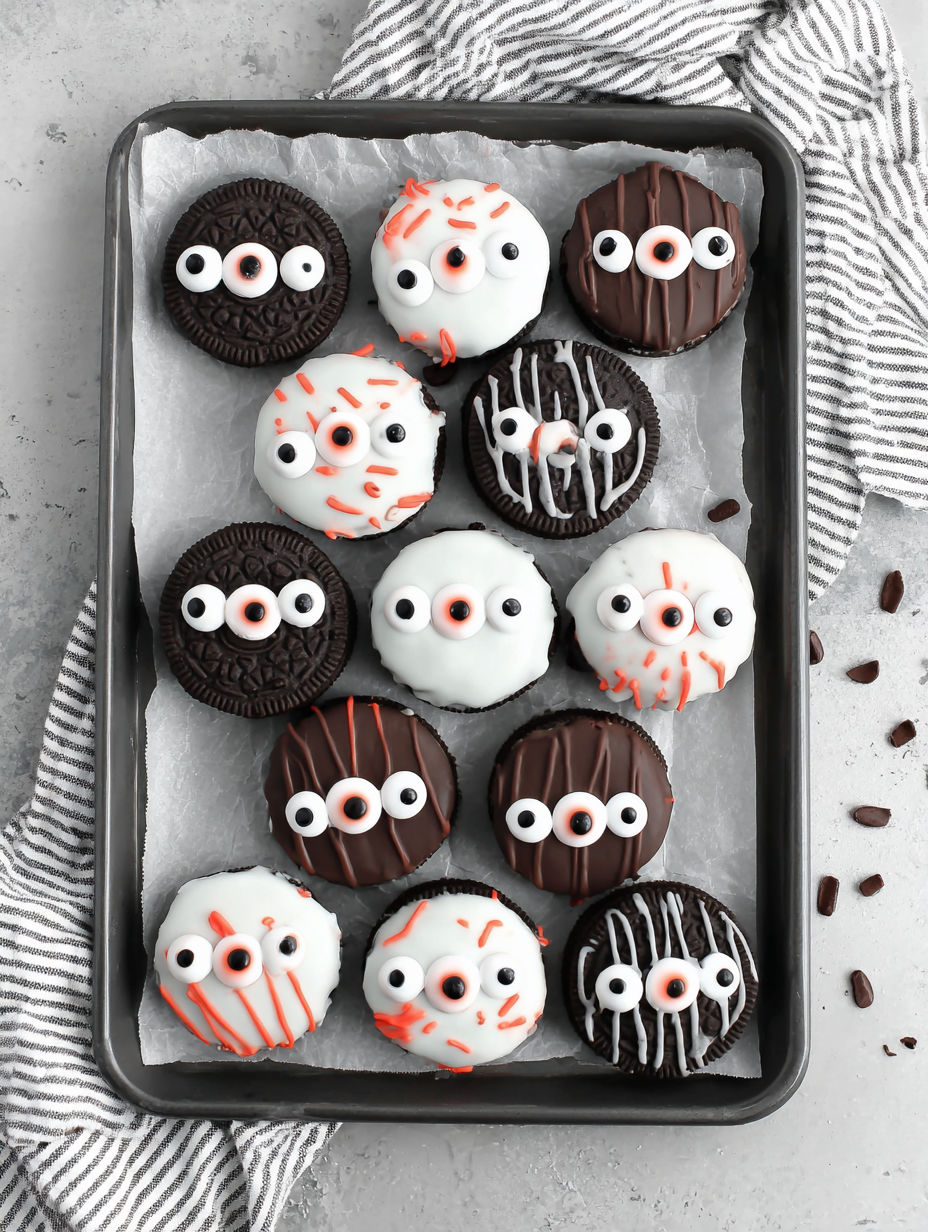
- Decorate the Eyeballs:
- Add a small dollop of red decorating gel on each coated ball and gently press a candy eye in place creating the iconic spooky look
My favorite part is the candy eyes because they really bring the treat to life and always make my kids giggle when they see them. One year we made extra and turned the leftovers into monster cupcakes which became a family hit.
Storage tips
Store Oreo eyeballs in an airtight container in the refrigerator for up to five days. This keeps the coating firm and the filling fresh. If you want to prepare them well in advance, they freeze beautifully for up to two months. Thaw in the refrigerator before decorating to avoid condensation ruining the coating.
Ingredient substitutions
You can swap Oreo cookies for any chocolate sandwich cookie if you prefer a different flavor twist. Plain cream cheese can be replaced with flavored cream cheese like strawberry or pumpkin spice to add seasonal flair. Instead of white candy melts, you could use melted white chocolate but be sure to temper it carefully to prevent blooming or take a more molten texture.
Serving suggestions
Serve these Oreo eyeballs on a decorative Halloween inspired platter with other spooky treats like pumpkin cookies or caramel apples for a festive dessert table. They also pair excellently with a simple glass of milk or a warm cup of spiced cider to soften the sugar rush.
These Oreo eyeballs are a fun, easy Halloween treat that will impress guests and delight kids. Make them ahead and freeze if you need to save time.
Your Recipe Questions Answered
- → What type of cookies work best for these eyeballs?
Chocolate sandwich cookies like Oreos provide the perfect texture and flavor for the base of these treats.
- → How do I soften cream cheese quickly?
Let cream cheese sit at room temperature for 30 minutes or microwave in short intervals until soft but not melted.
- → Can I use white chocolate instead of candy melts?
Yes, white chocolate chips can be used but melt gently to avoid burning and ensure smooth coating.
- → How long should the eyeballs chill before coating?
Chill at least one hour to firm up the mixture, making it easier to dip and maintain shape.
- → What alternatives exist for candy eyes?
You can use M&M candies, dark chocolate spots, or edible markers to create spooky eyes.