
 Bookmark
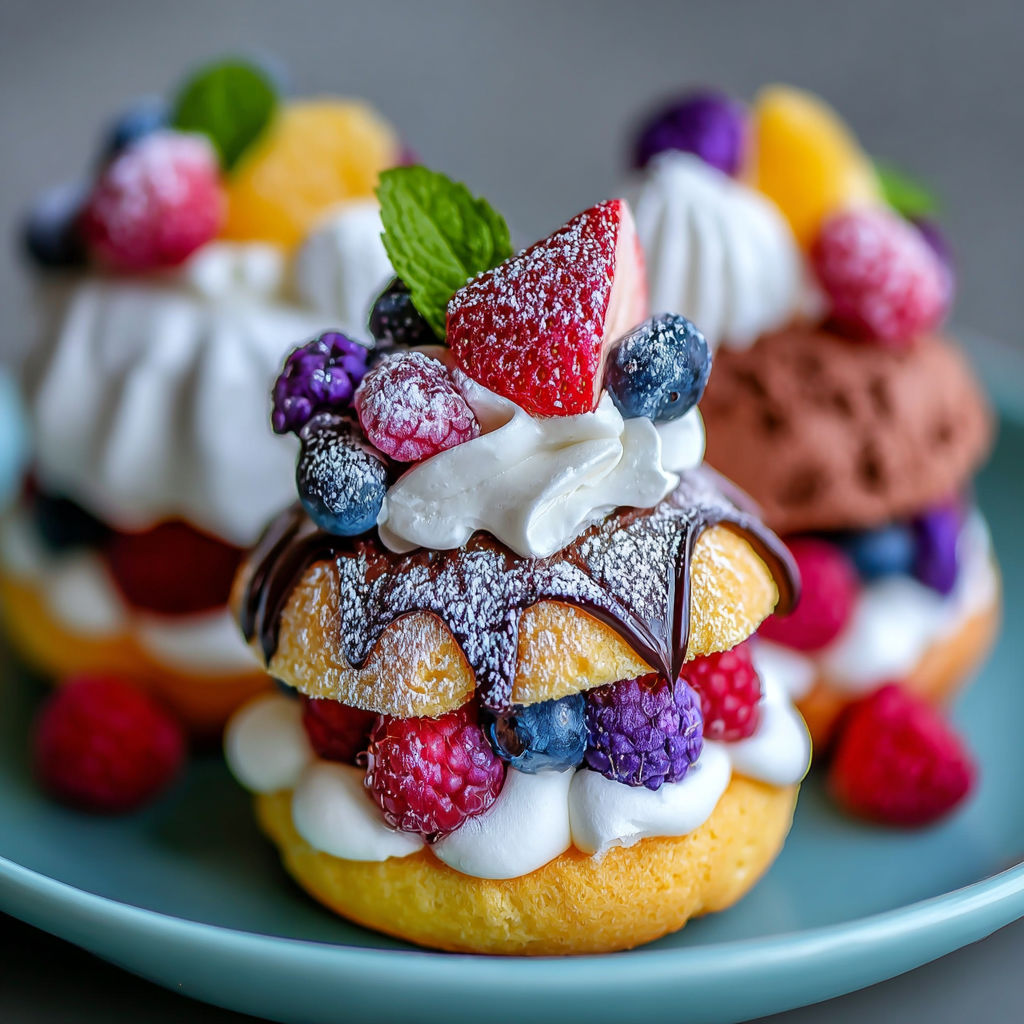
These mini desserts are perfect for when you want a sweet treat without the fuss of a big cake. They are easy to make and versatile enough to suit many flavor preferences. Whether you are baking for a party or just indulging yourself, these little delights are sure to satisfy.
I first made these mini treats when I needed a quick dessert for a family gathering. Everyone loved how light and charming they were, and now they are a regular request whenever we get together.
Ingredients
- All-purpose flour: for a balanced texture and good structure
- Granulated sugar: to bring sweetness and enhance the flavor profile
- Baking powder: to make the bites light and fluffy by giving them lift
- Unsalted butter: adds richness and keeps the desserts moist choose good quality for the best taste
- Eggs: help bind everything together and add moisture fresh eggs work best
- Vanilla extract: gives a warm and inviting aroma that complements most flavors
- Milk: ensures the mixture stays moist and tender whole milk creates creamier results
- Cocoa powder: adds deep chocolate flavor for those who want a richer dessert
- Fresh fruit: adds natural sweetness and a burst of color select seasonal and ripe options for freshness
- Whipped cream: provides a light and airy topping that pairs wonderfully with fruit or chocolate
Instructions
- Prepare Your Ingredients:
- Measure out all ingredients carefully and set up your workspace. Make sure butter is softened for easier mixing and fruits are washed and prepped. Preheat your oven if baking is your chosen method.
- Mix the Base:
- Combine the all-purpose flour, sugar, baking powder, and cocoa powder if using in a large mixing bowl. Stir these ingredients well to distribute everything evenly which helps achieve consistent results.
- Add Wet Ingredients:
- Add softened butter, eggs, vanilla extract, and milk gradually to the dry mix. Stir gently just until combined to avoid overworking the batter which can make desserts tough.
- Portion the Mixture:
- Use a spoon or a small scoop to fill mini dessert cups or molds evenly with the batter. This helps with consistent baking or chilling.
- Bake or Chill:
- If baking, place the mini desserts on a tray and bake according to your oven’s specifics usually around 20 to 30 minutes or until a toothpick inserted comes out clean. If you prefer a chilled dessert, transfer directly to the fridge and let them set.
- Prepare Toppings:
- While your desserts rest, whip the cream until light peaks form or chop fresh fruit. These toppings add freshness and balance the sweetness.
- Assemble Your Desserts:
- After desserts have cooled or set, add the whipped cream and fresh fruit toppings. Feel free to get creative with combinations or even drizzle chocolate for extra indulgence.
- Serve and Enjoy:
- Arrange your mini desserts nicely on a platter and serve at room temperature or chilled. Watch how quickly they disappear at any event or family dinner.

My favorite part of this recipe is the fruit topping. It always brings a fresh and vibrant note that balances the sweetness and richness perfectly. One special memory is when my daughter helped pick the berries for these desserts making the baking process a playful and cherished family moment.
Storage Tips
Store these mini desserts in an airtight container in the refrigerator. They will stay fresh for up to three days which makes them perfect for making ahead. Avoid freezing whipped cream toppings but you can freeze the baked bases before adding toppings.
Ingredient Substitutions
Swap milk for almond or oat milk for a dairy-free option without sacrificing texture. Use coconut oil instead of butter to add a subtle tropical hint and make it vegan friendly. Replace granulated sugar with coconut sugar or honey for a different sweetness profile.
Serving Suggestions
Serve with a dusting of powdered sugar or a drizzle of caramel for extra sweetness. Pair with a hot beverage like coffee or tea to complement the dessert flavors. Add nuts or chocolate chips into the batter for additional texture and flavor.

Enjoy these mini desserts with your favorite toppings. They’re perfect for sharing.
Your Recipe Questions Answered
- → What ingredients add moisture to these desserts?
Unsalted butter, milk, and eggs work together to keep the mini desserts moist and tender throughout baking or chilling.
- → Can these treats be made gluten-free?
Yes, substitute all-purpose flour with gluten-free flour blends to accommodate gluten-free diets without losing texture.
- → How do you bake or chill these mini desserts?
Portion the mixture into molds, then bake until risen and set or chill in the fridge until firm, depending on desired texture.
- → What toppings complement these desserts best?
Fresh fruit and whipped cream add a light, colorful touch that balances the rich cocoa and sweetness of the base.
- → How long does preparation and cooking take?
Preparation takes about 15 minutes, with cooking or chilling requiring approximately 30 minutes, making it a quick treat option.