
 Bookmark
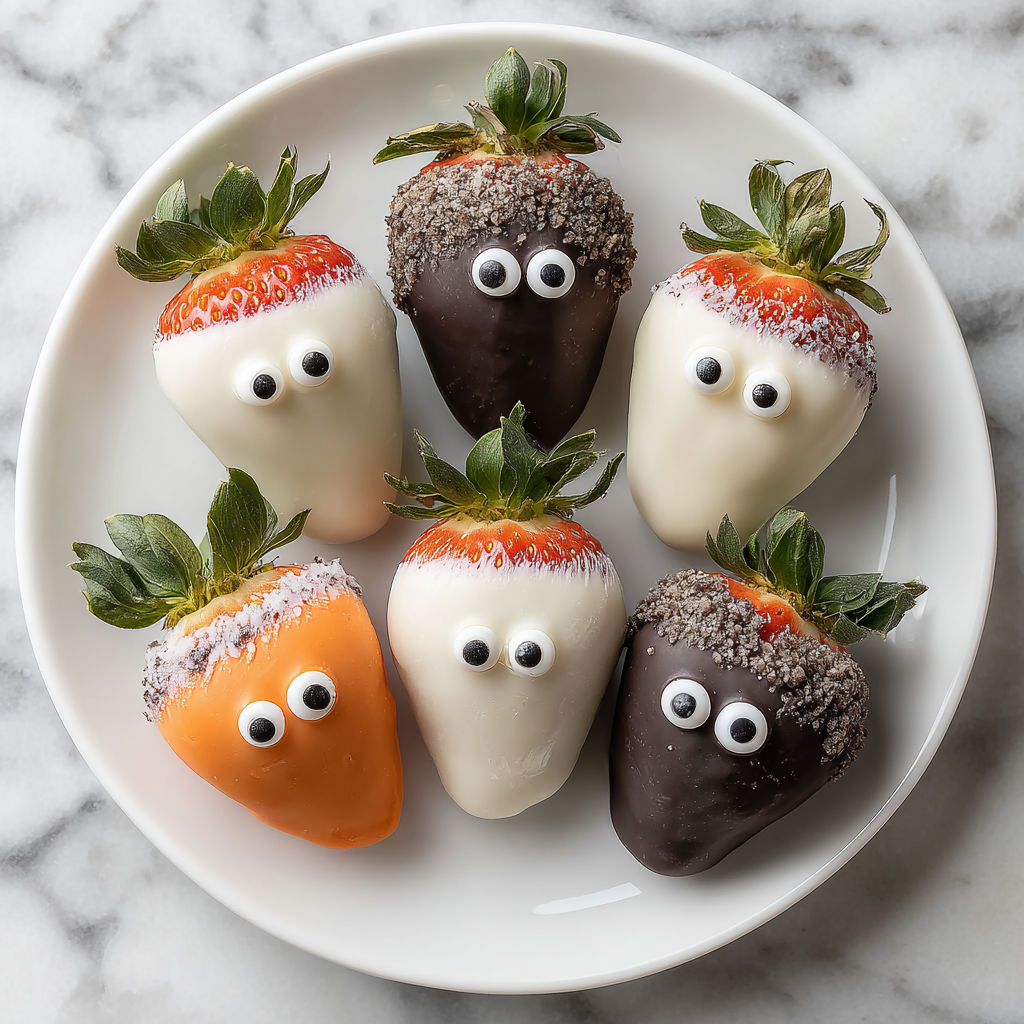
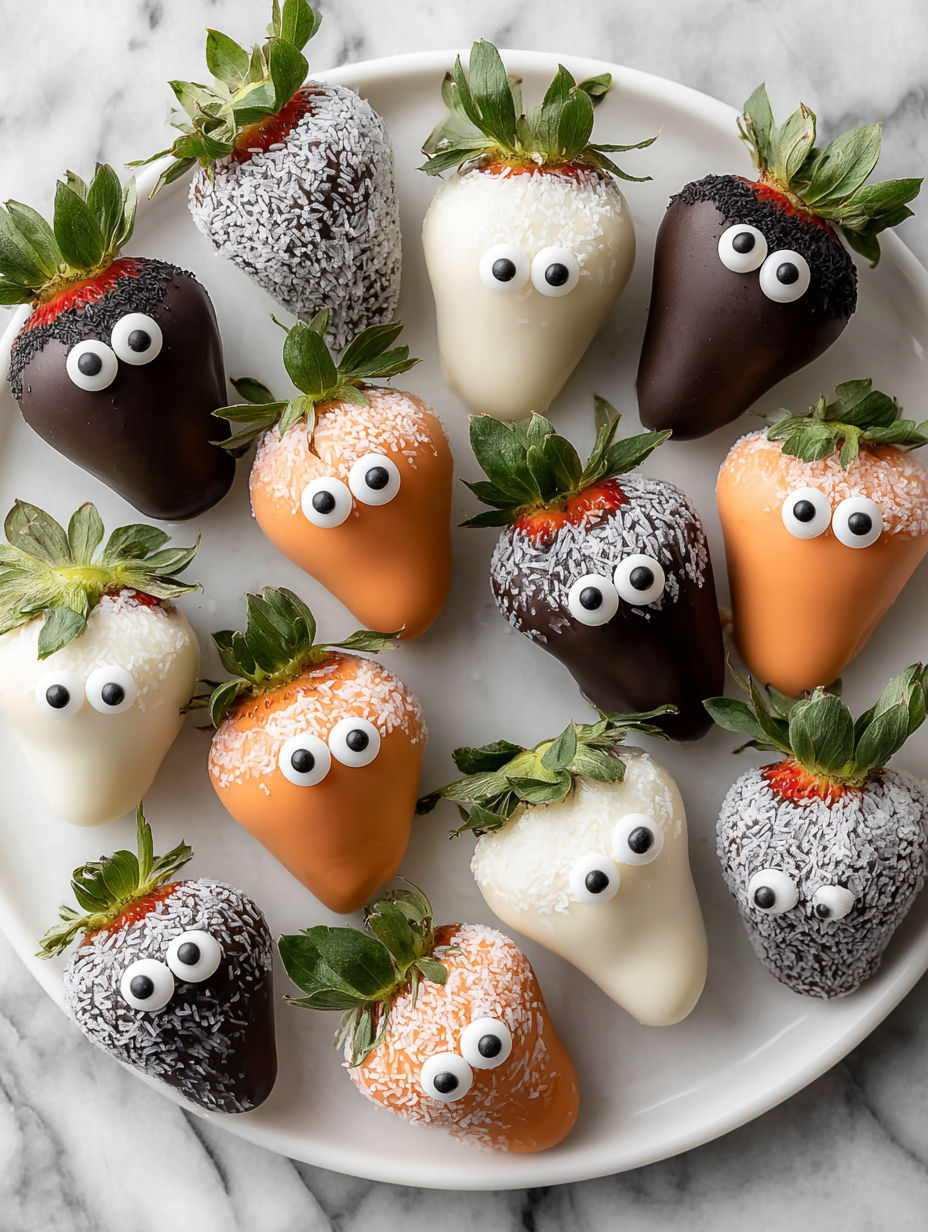
These Halloween Chocolate Covered Strawberries are the perfect festive treat that mixes spooky charm with sweet delight. Easy to make without baking, they transform simple strawberries into ghosts, pumpkins, and mummies with colorful chocolate coatings and playful decorations. Whether for a kids’ Halloween party or a grown—up gathering, these little bites bring fun and flavor that everyone loves.
I first made these during a hectic Halloween prep, and the kids couldn’t get enough of them. Now they are always the star at our Halloween dessert table, and making them together is part of the fun.
Ingredients
- Fresh strawberries: One pound washed and thoroughly dried to ensure chocolate sticks properly and the berries stay fresh
- White chocolate or white candy melts: Eight ounces for smooth white coating look for good quality for better shine and flavor
- Milk or dark chocolate: Eight ounces adding rich color and flavor especially for mummy designs
- Orange candy melts: Four ounces for vibrant pumpkin color candy melts help achieve smooth, even coverage
- Coconut oil or vegetable shortening: Two teaspoons optional to mix in melted chocolate to create a silky, easier—to—dip consistency
- Candy eyes: Store—bought for quick, cute decorations allowing for expressive ghost and mummy faces
- Black decorating gel or melted dark chocolate: To pipe spooky mouths and details adding personality and detail to each character
- Small piping bags or zip—top bags: To control decorating and drizzling for precise chocolate lines and facial features
Instructions
- Satisfy the Strawberries:
- Wash strawberries gently and pat completely dry with paper towels. This is essential because any moisture will cause the chocolate to slide off or seize up. Aim for dry berries for best results.
- Prepare Your Workspace:
- Line a baking sheet with parchment paper to create a nonstick surface for the dipped strawberries to set on. This prevents mess and keeps your treats looking beautiful.
- Melt the Chocolates:
- Using separate microwave—safe bowls, melt the white chocolate, milk or dark chocolate, and orange candy melts. Heat in 30—second intervals stirring in between until smooth and fully melted. Add half a teaspoon of coconut oil to each melts to achieve a silky, gloss finish and easier dipping.
- Dip the Strawberries:
- Divide the strawberries into three equal batches. Dip one batch in white chocolate for ghost designs, another in orange candy melts for pumpkins, and the last in milk or dark chocolate for mummies. Place each dipped strawberry carefully on the parchment—lined tray.
- Decorate the Ghosts:
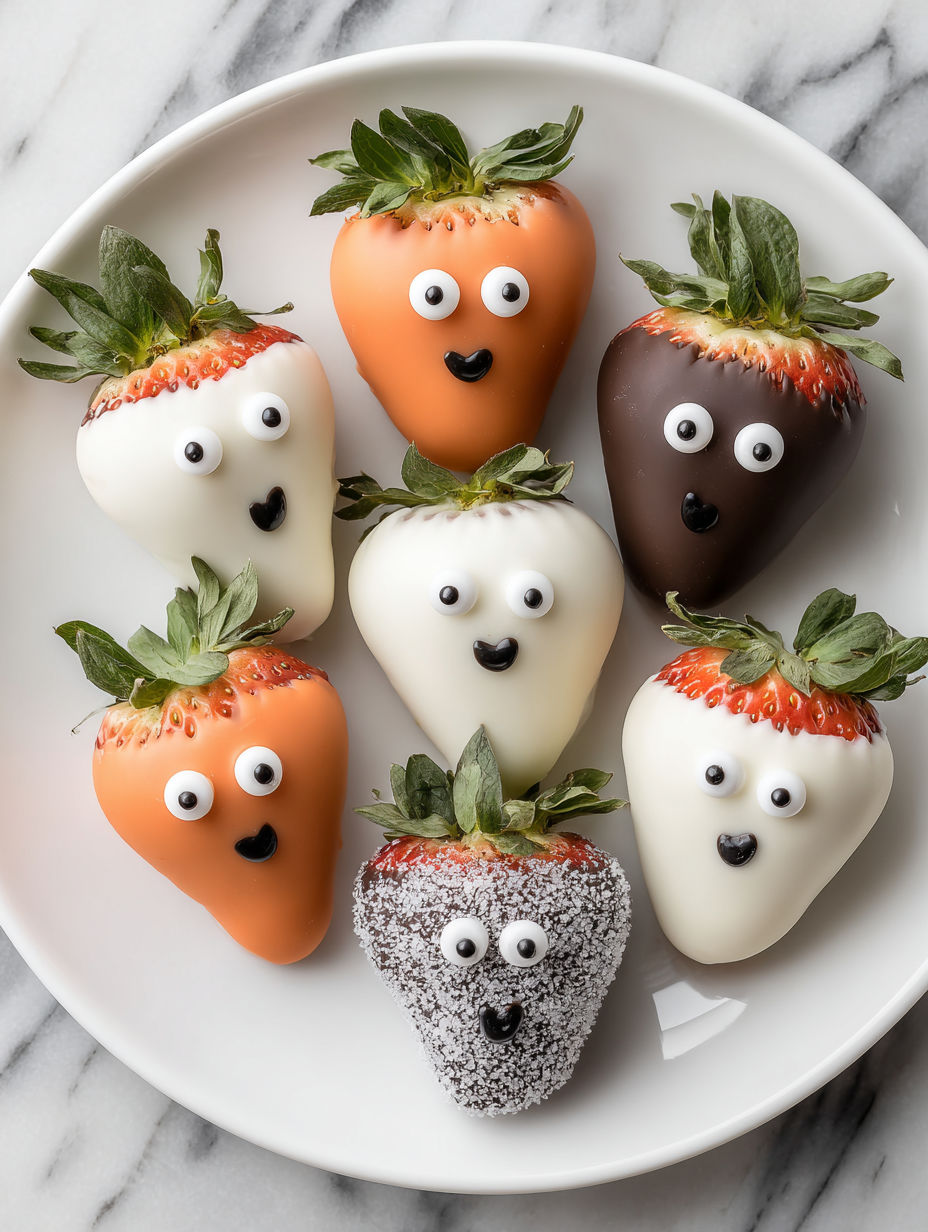
- While the white chocolate is still wet press candy eyes gently on each ghost strawberry. Use black decorating gel or melted dark chocolate to pipe spooky mouths. This step brings them to life with character.
- Shape the Pumpkins:
- After the orange coating sets briefly, use a toothpick to gently create vertical ridges to mimic pumpkin grooves. Add a small green icing leaf near the stem to resemble a pumpkin topper for realism.
- Design the Mummies:
- Wait until the milk or dark chocolate bases are fully set. Then drizzle thin lines of white chocolate across the strawberries to look like mummy bandages. Press candy eyes between the drizzled lines to complete the look.
- Chill the Treats:
- Place the decorated strawberries in the refrigerator for 15 minutes to allow the chocolate to fully harden and set.
- Serve and Enjoy:
- Arrange on a festive platter and serve fresh for a crowd—pleasing Halloween treat.
My favorite part of this recipe is the candy eyes. They give each strawberry a playful personality that kids adore. I remember one Halloween when a little one named the ghost strawberry “Spooky,” and it quickly became a family tradition to name each character the next year.
Ingredient Substitutions
If you don’t have candy melts, you can use high-quality white and colored chocolate bars but temper them carefully for a smooth finish. For the green icing leaf on pumpkins, you can use small fondant leaves or green sprinkles as a creative alternative. If you prefer a dairy-free version, look for vegan or dairy-free chocolate and candy melts to make this recipe allergy—friendly.
Storage Tips
Store the strawberries in a single layer in an airtight container in the refrigerator. Avoid stacking them to keep the decorations intact. For best texture and flavor, consume within 48 hours as strawberries may release moisture over time. Bring them to room temperature just before serving to enhance the chocolate’s flavor and texture.
Serving Suggestions
Serve these with warm apple cider or pumpkin spice latte for a perfect Halloween combo. Pair with a cheese platter that has mild cheeses and seasonal fruits for a sophisticated party spread. Add a sprinkle of edible glitter or colored sugar crystals to the platter for extra festive flair.
These festive chocolate covered strawberries are quick to make and a hit with kids and adults alike. Make them together for a fun Halloween activity.
Your Recipe Questions Answered
- → What type of chocolate works best for coating strawberries?
Milk, dark, or white chocolate can be used for coating. Candy melts also work well for smooth, colorful finishes ideal for decorating.
- → How can I ensure the chocolate sticks to the strawberries?
Make sure strawberries are completely dry before dipping, as moisture prevents chocolate from adhering properly.
- → Can I prepare these treats ahead of time?
Yes, after decorating, chill them in the refrigerator to set the chocolate, then serve within a day for best freshness.
- → How do I create the spooky faces on the strawberries?
Use candy eyes and piping gel or melted chocolate to draw mouths and details, adding character to each berry.
- → What is the best way to melt chocolate for dipping?
Melting chocolate in 30-second intervals in the microwave, stirring in between, ensures smooth consistency without burning.