 Bookmark
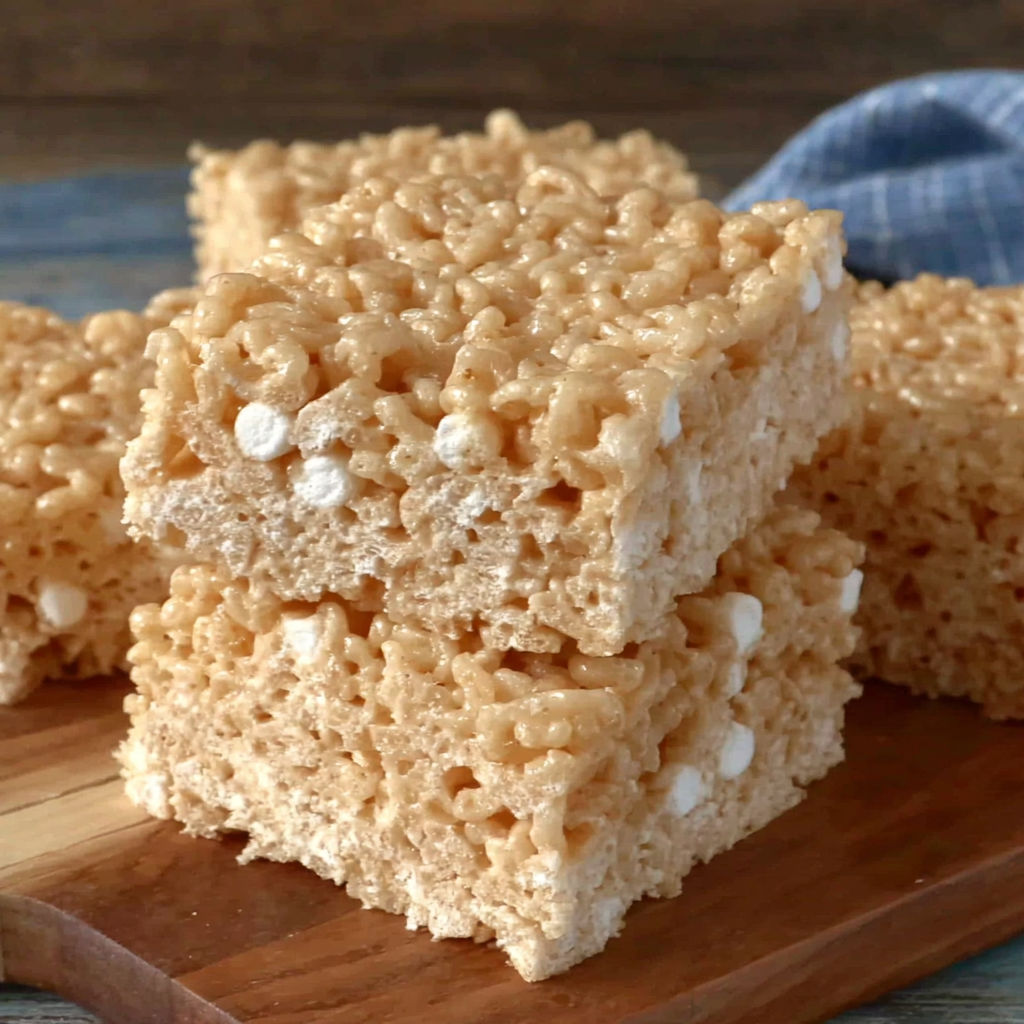
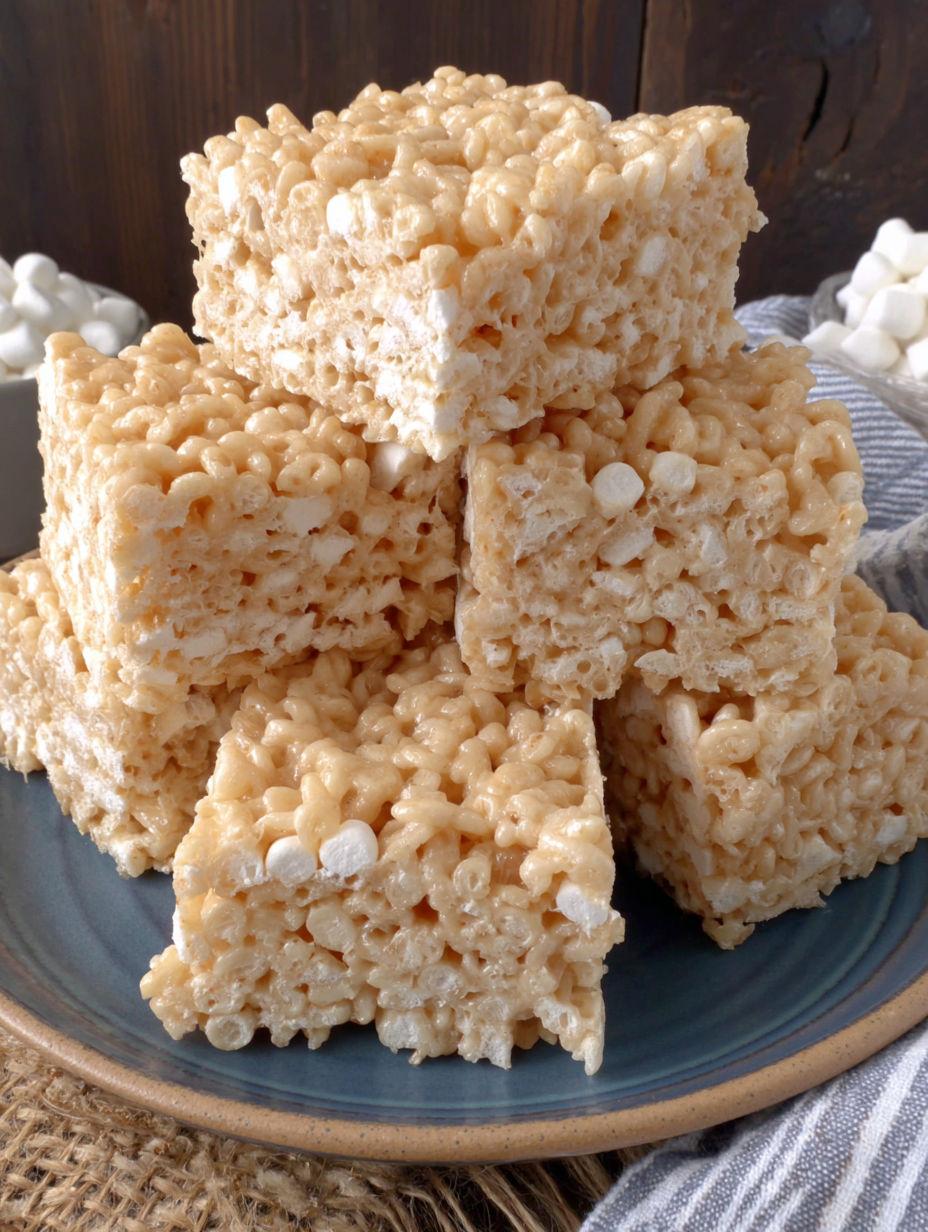
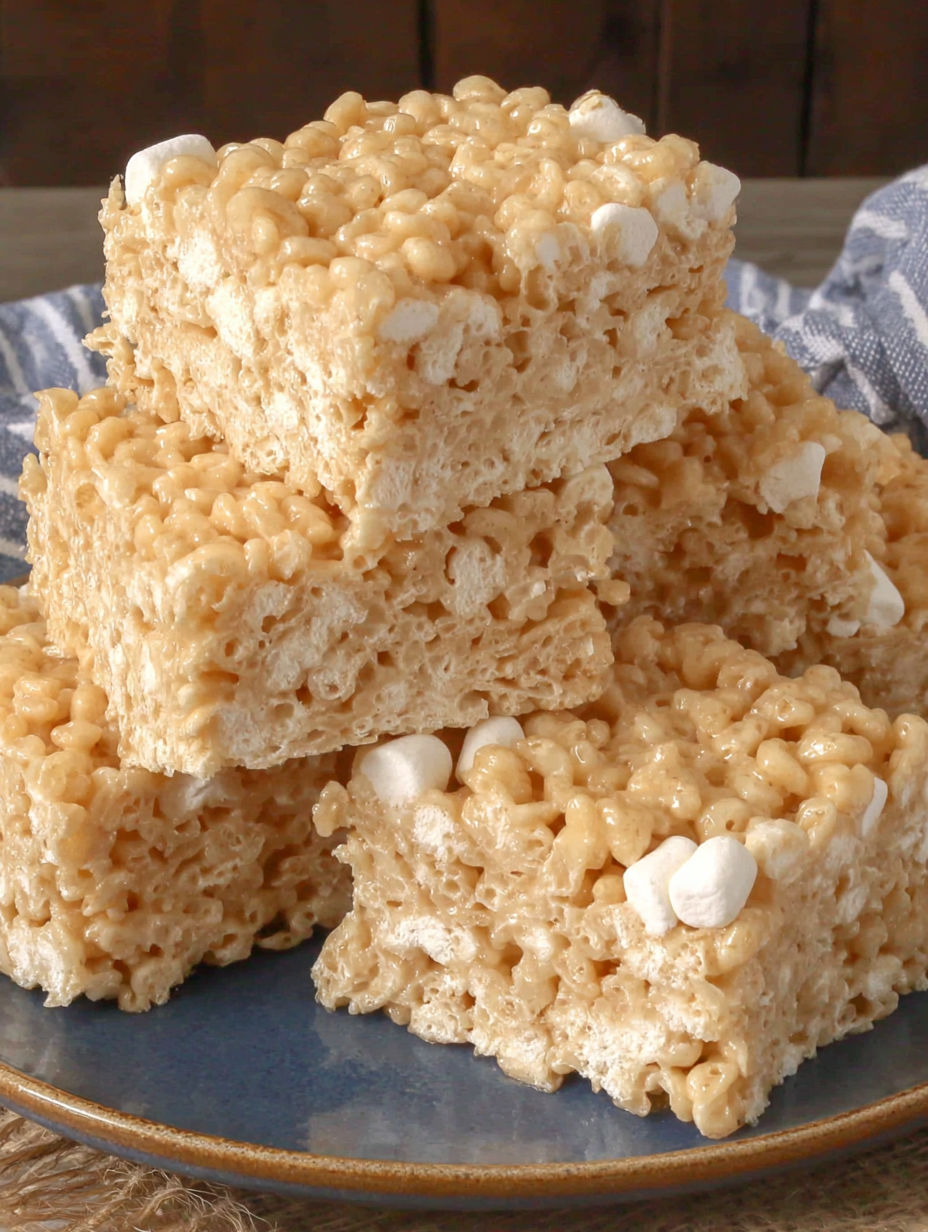
These homemade Rice Krispie Treats are packed with gooey marshmallow pockets and a perfect buttery crunch that takes just minutes to prepare. I have been making these bars since my kids were toddlers and I still whip them up for school functions or just for a sweet bite when the mood strikes. They always disappear fast.
I first made this batch as a rainy day project with my son and now we make them as our go to treat any time we want a quick sweet with nostalgic flavor. Everyone always asks for seconds.
Ingredients
- Unsalted butter: brings richness and makes browning possible look for fresh sticks with no freezer taste for the deepest flavor
- Mini marshmallows: provide gooey texture and those delightful melted bits check packages for soft fluffy marshmallows fresh is always best
- Rice Krispies cereal: gives crispness and structure always choose a fresh unopened box for maximum crunch
- Pure vanilla extract: adds a round warmth only real vanilla brings check ingredients for genuine extract not imitation
- Fine sea salt: lifts all the sweet flavors and balances each bite choose fine for best distribution in the mixture
Instructions
- Prepare Your Pan:
- Line an eight or nine inch baking pan with aluminum foil pressing the foil so it fits snugly in all corners. Butter the foil thoroughly so bars will not stick when removed later.
- Brown the Butter:
- Place your butter into a large light colored Dutch oven or heavy pot and set over medium heat. Stir constantly with a wooden spoon until the butter melts then begins to foam and then subsides revealing toasty brown bits on the bottom of the pan. This usually takes five to eight minutes. When you smell a nutty aroma and see deep golden color take the pan off the heat right away.
- Melt the Marshmallows:
- With the pot off the heat pour in most of your mini marshmallows and stir to begin melting them in the hot butter. Return the pan to low heat and stir constantly until the mixture becomes smooth and glossy leaving a handful of marshmallows aside for later texture.
- Season the Base:
- Sprinkle fine salt and pour in vanilla extract directly into the marshmallow butter mixture to deepen flavor. Stir well so these key ingredients infuse the whole base evenly.
- Incorporate the Cereal:
- Add the Rice Krispies cereal while stirring quickly and evenly. Work fast so the melted marshmallow coats all the cereal without starting to set too soon.
- Add Finishing Marshmallows:
- Once cereal is mixed add the reserved handful of marshmallows and gently fold to keep them visible as gooey pockets in the finished bars.
- Transfer and Press:
- Scrape the mixture into your prepared pan while still warm. Using a buttered spatula or a butter wrapper press the mixture down gently to form an even layer. Do not press too hard as gentle pressure keeps the bars light instead of dense.
- Let Set and Cut:
- Leave the pan uncovered at room temperature for about one hour until fully set. Lift bars out by the foil and transfer to a cutting board. Cut into uniform squares using a large serrated knife for the cleanest results.

My favorite part is the golden pools of browned butter which turn an ordinary treat into something so craveable. I always remember my youngest getting sticky hands while we pressed the bars together laughing over who licked the spoon last.
Storage Tips
To keep Rice Krispie Treats fresh store them at room temperature in an airtight container. For softer texture place a slice of sandwich bread in the container to maintain moisture. They can also be kept refrigerated if your kitchen is very warm but room temperature is best for flavor and chew.
Ingredient Substitutions
If you want to experiment try swapping some marshmallows for peanut butter for a nutty spin. Dairy free or vegan butter can be used but you may lose some browning notes. Chocolate chips or M and Ms stirred in after mixing can transform these into a colorful holiday version.
Serving Suggestions
Rice Krispie Treats are delightful as is but can also be dipped in melted chocolate for a decadent party platter. Try shaping them into balls or cutting with fun cookie cutters for birthday celebrations. They are especially popular in lunchboxes and at picnics.
Cultural History
Rice Krispie Treats have been an American classic since the late 1930s invented by Kellogg’s home economists as a bake sale solution. The simple combination quickly became a staple for families and school events bringing generations together over sticky hands and sweet memories.
Seasonal Adaptations
Stir in pastel candy for springtime gatherings Add colored sprinkles for birthdays or holidays Mix with chopped nuts and dried fruit for an autumn snack
Success Stories
I have heard from friends and family that these treats are always first to vanish at potlucks. One friend started making them yearly for teacher appreciation because teachers would request them by name. Kids especially love the surprise of gooey marshmallow inside.
Freezer Meal Conversion
For long storage wrap bars individually in wax paper and keep sealed in a freezer safe bag for up to three months. Thaw at room temperature before serving for best texture.

Enjoy making these classic treats for any occasion—there are countless ways to make them your own. They are guaranteed to bring smiles and sticky fingers to everyone who tries them.
Your Recipe Questions Answered
- → How do I get the perfect gooey texture?
Stir extra mini marshmallows into the warm cereal mixture just before pressing into the pan. This adds soft, gooey pockets throughout each bar.
- → Why brown the butter?
Browning the butter brings a deep, nutty flavor that enhances the classic marshmallow and cereal combo.
- → Can I use different cereals?
Yes, crispy rice cereal is traditional, but you can experiment with similar puffed or crispy cereals for new textures.
- → How should I store the bars?
Keep them in an airtight container at room temperature for up to 4 days, or refrigerate for up to a week for a firmer texture.
- → Are there mix-in variations?
Try adding peanut butter, chocolate chips, or colorful candies for extra flavor and fun. Fold mix-ins in just before pressing into the pan.
- → How do I prevent sticking when cutting?
Line your pan with buttered foil or parchment, then lift out the set bars before slicing with a sharp knife.
